Guides

Read posts categorised as ‘Guides’ in the PermaRoof UK library. We offer innovative solutions to the DIY, trade and commercial sectors.

Talk to us today and find out how we can help you with your project. With a wide range of building and flat roofing products, installation guides, video tutorials and more, PermaRoof UK is a one-stop-shop for all your projects. In addition to reading our blog we recommend you connect with us on Facebook and LinkedIn for even more updates.

How to Fit EPDM 6” Cover Strip Join

2024-02-19T13:51:15+00:00

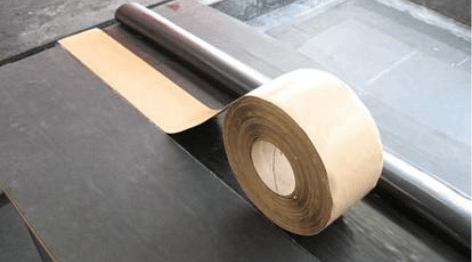
How to Fit EPDM 6” Cover Strip Join In this installation guide, we will demonstrate how to install an EPDM 6” Batten Cover Strip Join. Step 1: Make sure that the contact adhesive is used on both the back of the membrane and deck surface to secure the edges. Note: The Bonding Adhesive (contact adhesive) is now dark green in colour. Step 2: With the membrane now adhered to the deck, lay the tape in situ evenly across the join Step 3: Outline with a crayon where the edges of the tape lie. This gives a guideline for you to apply Quickprime Plus. Make sure that the crayon marks extend beyond the edge of the tape around 20mm each side.

How to Make an EPDM Join with 3” Seam Tape

2024-02-19T08:04:58+00:00

How to Make an EPDM Join with 3” Seam Tape In this installation guide, we will demonstrate how to handle a join using the 3-inch seam tape. Step 1: Ensure the leading edge overlaps the lower sheet by at least 100mm, and has a straight edge along the entire length of the seam. Step 2: Position and mark the sheet with a white crayon. The line should 18mm from the leading edge of the overlap, all the way down the seam. An 18mm timber batten is a useful tool for this. Step 3: Flap the leading edge away from the line. It may be necessary to keep it secured with various items so it will not flap back onto

EPDM Shed Roof Kit Installation Guide

2025-08-11T15:04:27+00:00

EPDM Shed Roof Kit Installation Guide How to Fit an EPDM Shed Roof Kit In this guide, we will demonstrate the application process for fitting your PermaRoof EPDM shed roof kit. Our shed roof kits include everything you need to replace the covering on timber shed roofing. Fast and easy to apply, ideal for DIY. Your EPDM kit should be applied to a clean, dry and dust-free surface for the best results. Carefully prepare your shed roof by fully removing the old covering and any oil or grease spots. NB Timber shed battens are not included as a part of the EPDM roofing kit. You may choose to purchase new battens or conserve the old ones (if they are

EPDM Membrane – Mechanically fixed application

2024-02-19T08:05:16+00:00

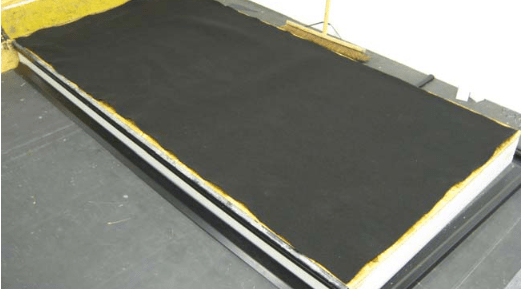
Mechanically fixed application It is always preferable to remove the existing waterproofing from the main part of the roof, but if you are satisfied the roof deck is in a sound structural condition, only the perimeter edge waterproofing, upstands and loose materials, e.g, felt chippings, have to be removed. Once the remaining surface has been properly swept, the geotextile undercushion can be laid onto the roof surface. This protects the membrane from the potentially rough substrate.   At all perimeter edges and upstands, the RUSS (Reinforced Universal Securing Strip) needs to be mechanically attached to the substrate for the membrane to adhere to. The geotextile undercushion must be secured underneath these strips using V-plates and All-purpose fasteners. It is important

Fully Adhered EPDM Application

2025-07-22T14:51:44+00:00

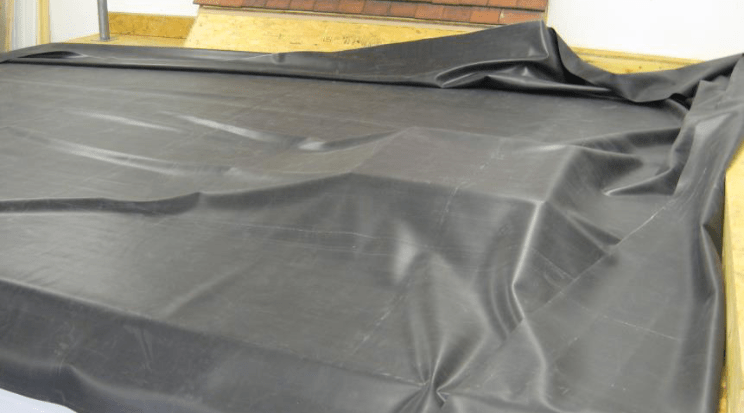
Fully Adhered EPDM Application Once the substrate in properly prepared, the EPDM membrane can be laid out onto the roof and positioned. Make sure enough membrane overhangs the roof perimeters and upstands, allowing to be trimmed later. When EPDM membrane is laid in-situ, it can take around 30 minutes to relax. In cold weather conditions, this waiting time will be extended and any folds that are sometimes present in the membrane can take longer to dissipate. The membrane is applied from the centre of the roof out towards the perimeter edges. At these edges and upstands, fold excess membrane back onto the roof. This ensures any wrinkles are removed, making the membrane easier to apply. Then fold the sheet

Go to Top