How to Fit EPDM 6” Cover Strip Join
In this installation guide, we will demonstrate how to install an EPDM 6” Batten Cover Strip Join.
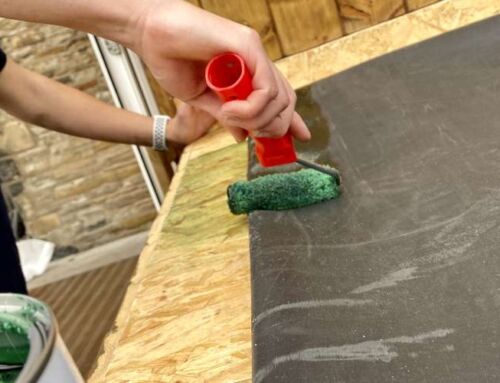
Step 1: Make sure that the contact adhesive is used on both the back of the membrane and deck surface to secure the edges.
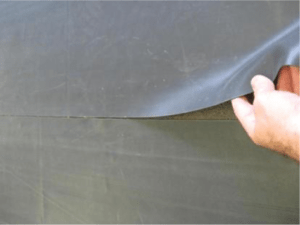
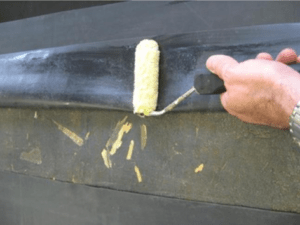
Note: The Bonding Adhesive (contact adhesive) is now dark green in colour.
Step 2: With the membrane now adhered to the deck, lay the tape in situ evenly across the join
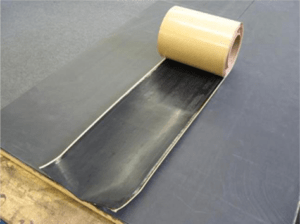
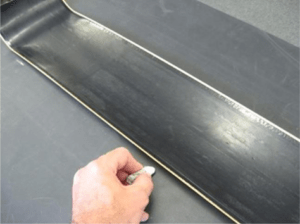
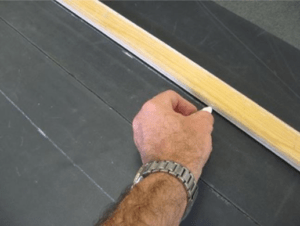
Step 3: Outline with a crayon where the edges of the tape lie. This gives a guideline for you to apply Quickprime Plus. Make sure that the crayon marks extend beyond the edge of the tape around 20mm each side.
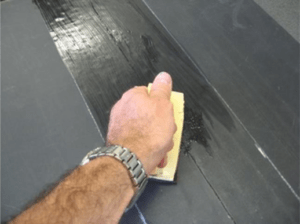
Step 4: Apply Quickprime Plus with a Quickscrubber pad and handle within the marked area. Apply all the way down the join, avoiding puddles by spreading it out evenly.
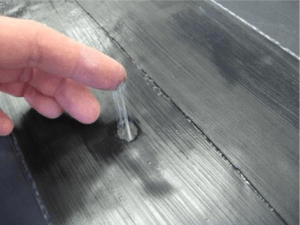
Step 5: Wait for the Quickprime Plus to go tacky. This is especially important, as the tape will not adhere to it if it is in a wet state.
Use the “pushed finger” test, and if the finger moves through the Quickprime Plus or strings in any way (as shown), it is NOT ready for the tape.
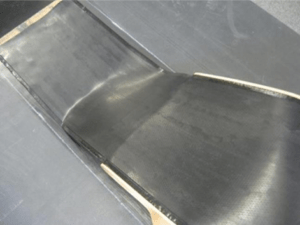
Step 6: Once the primed surface is ready, apply the tape to the area. Lay the tape parallel to the marked line, keeping the tape taut to prevent air bubbles being caught underneath it.
If you run out of tape, overlap the last 50mm with a new roll, but don’t forget to apply Quickprime Plus on top of the tape. Continue to lay the new roll of tape. Once the tape is laid, remember to overlay the joint with a 150mm x 229mm patch of Quickseam Formflash.
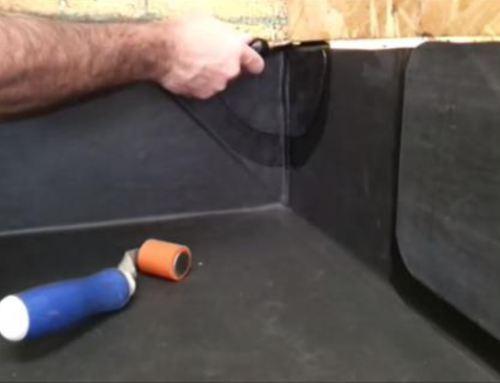
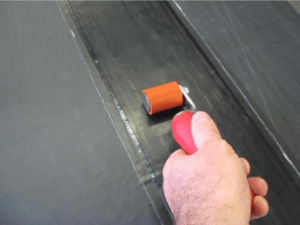
Step 7: Use the silicon roller to ensure the tape has adhered properly to the membrane, firstly across the joint…
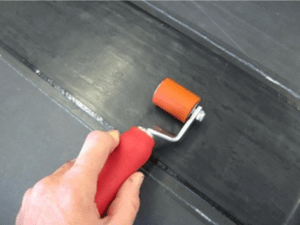
Step 8: …then parallel to the joint.
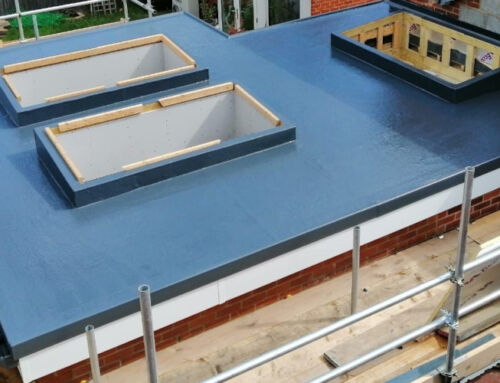
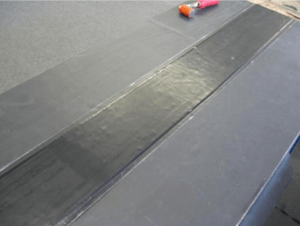
The finished detail.
Document Ref: Installation-Guides-6-Batten-Strip_il28_1