How to Install PermaRoof Plus Trim Detail
n this guide, we will demonstrate the installation process for Permaroof Plus trim detailing on your EPDM roofing system. All Permaroof demonstrators are qualified and experienced roofing professionals.
Edge trims help to completely seal and protect the gutter and kerb edges around the roofing, trapping the membrane securely and protecting it from the elements. It can also improve the aesthetic value of the installation considerably.
Let us can help you with high quality Permaroof Plus edge trim with fast delivery across the UK. We also stock a range of other trim in our online store.
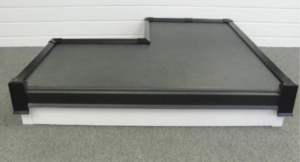
Fitting Instructions
When fitting Permaroof Plus trim, it is easier to install the gutter edge backplate before adhering the membrane. It must be attached before the kerb edge trim. Use 40mm self-tapping fixings set out at 500mm intervals. Start the fixings whilst the trim is on the roof deck, as this will make attachment easier.
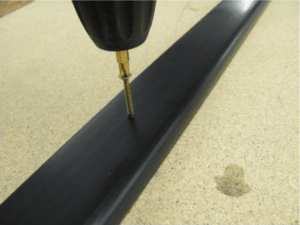
Ensure the top of the backplate is flush with the roof deck surface, then secure.
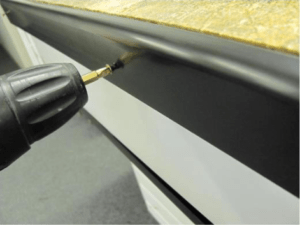
Once the membrane is applied to the roof deck, installation of the Permaroof Plus trim system can be dealt with.
Trim gutter and kerb edges of the roof membrane to 50mm excess of the roof edge.
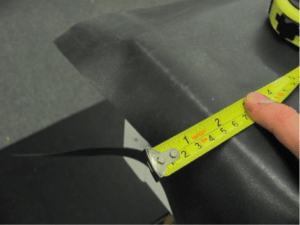
Measure the appropriate length of kerb edge trim needed and cut to size if necessary. Either foam tape or Permaroof Bond and Seal can be used for the watertight seal where it sits on the roof deck. If using foam tape, this seal will only be achieved under compression.
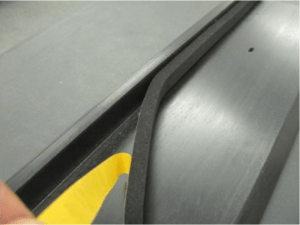
The trim requires attachment with BN50 polytop pins through the pre-drilled holes.
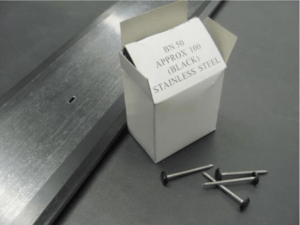
Offer up the trim as below and secure with the pins…
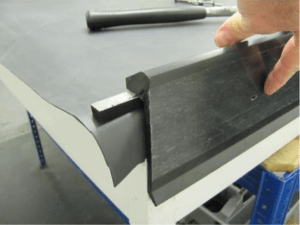
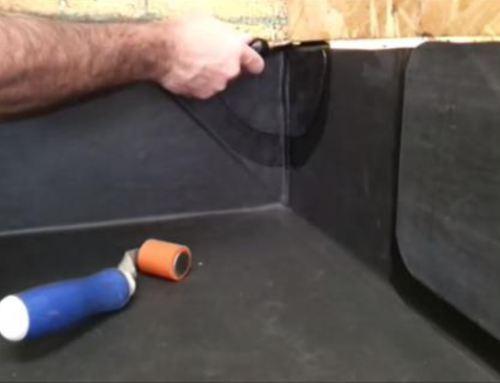
For corners, form a fold in the membrane…
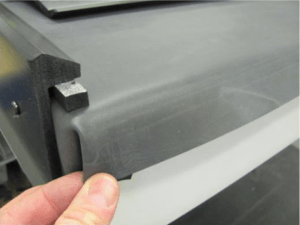
..butt the two edges together with overlapping tapes and attach.
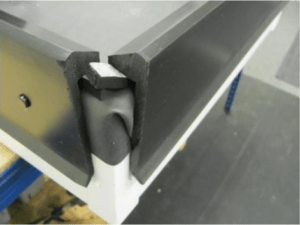
Attach a prefabricated external corner piece and secure with either Permaroof Bond and Seal or Superglue.
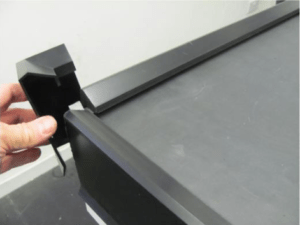
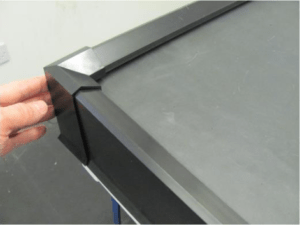
For corner pieces terminating around onto a gutter edge, use a small pre-cut piece of kerb trim and secure with either the sealant or the glue inside the external corner. This will close the void created by the external corner termination.
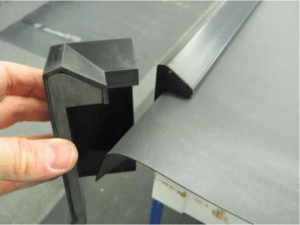
When joining two lengths of Permaroof Plus kerb edge trim, use a joint clip. Have at least 5mm between both trims and the joint clip to allow for expansion.
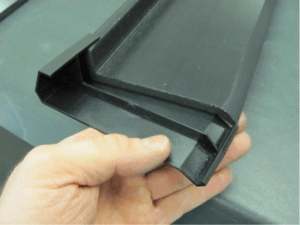
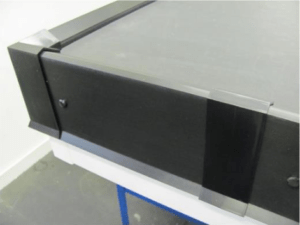
The roof is now ready to receive the Permaroof Plus gutter edge trim drip plate.
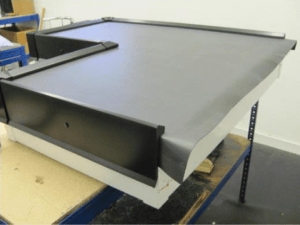
Remember the gutter trim back plate is already attached…
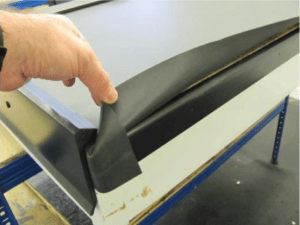
Cut the drip plate to the desired length which will be applied to all existing overhanging roof membrane.
On the underside of the drip plate, apply Permaroof Bond and Seal into the recess. This will make the seal watertight when “sandwiching” the membrane between the two trim pieces.
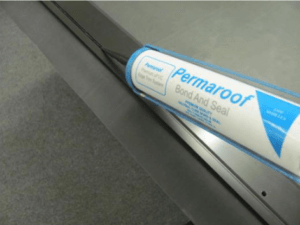
Offer up the drip plate and secure with BP40 polytop pins. Take care not to locate the top of the drip plate higher than roof deck level as this will cause ponding on the roof.
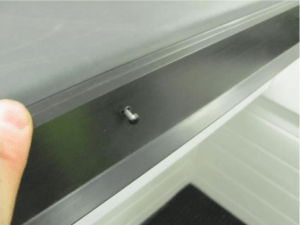
Seal the top edge with an additional bead of Permaroof Bond and Seal and remove excess sealant.
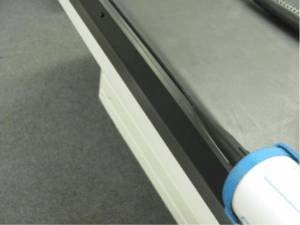
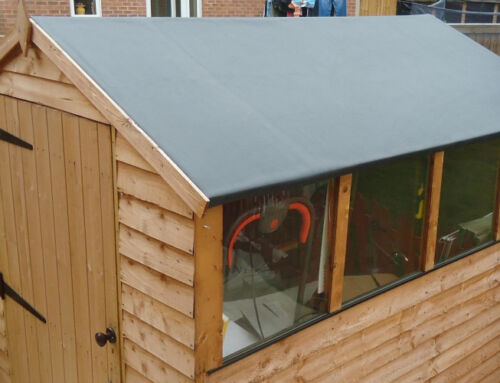
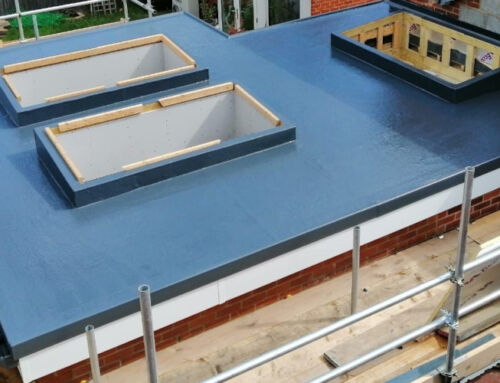
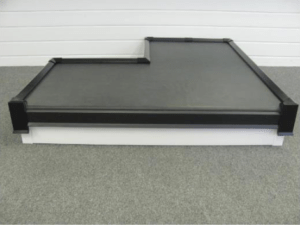
A finished example
Document Ref: Permaroof-Plus-Trim-Detail_il43_1