EPDM Through-Wall Outlet Detail
Using the EPDM outlet accessory
In this Permaroof installation guide, we will demonstrate the installation process for through-wall outlet detail using the EPDM Thru Wall Outlet accessory from Permaroof.
This method effectively seals and protects internal drain details from water ingress.
Once installed correctly, the EPDM Thru Wall Outlet leaves you with a long-lasting, high performance result, perfect for EPDM flat roofing systems.
The longevity of EPDM flat roofing can be fully supported using the right accessories for your projects. Ensure a watertight, reliable seal for the long term at critical points such as corners and junctions between roofing and parapet walls.
Step One
The EPDM membrane should be adhered to the substrate and upstand wall and the membrane cut out to reveal the outlet hole.
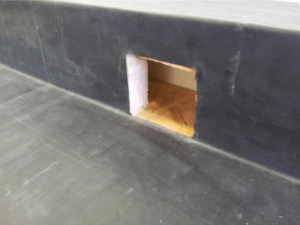
Step Two
Insert the outlet accessory.
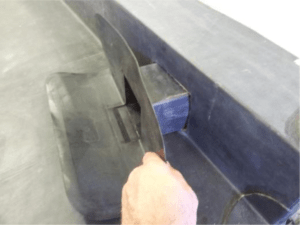
Step Three
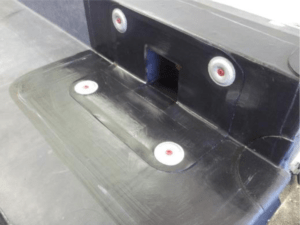
Mechanically fix the outlet to the roof deck and upstand wall using V-plates and All-purpose fasteners
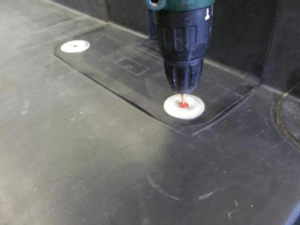
Step Four
Apply Quickprime Plus to the area a minimum of 100mm beyond the perimeter of the flange.
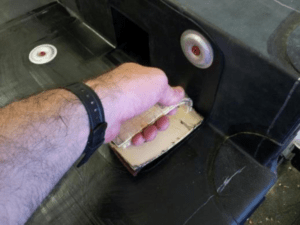
Step Five
Wait for the Quickprime plus to become tacky.
Step Six
Prepare a piece of SA flashing minimum 75mm larger than the through wall outlet flange.
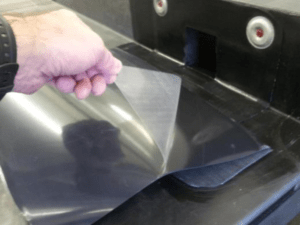
Remove the plastic backing and apply the flashing to the primed area onto the deck, ensuring that the Quickprime Plus is visible all around the flashing edge.
Step Seven
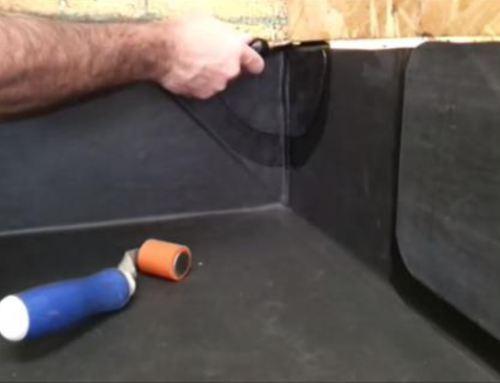
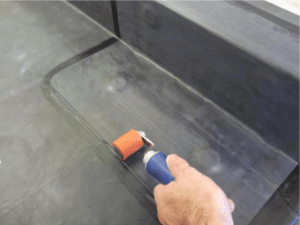
Continue to offer up the SA flashing tight into the angle change and then up the upstand. Apply the silicon roller for total adhesion.
Step Eight
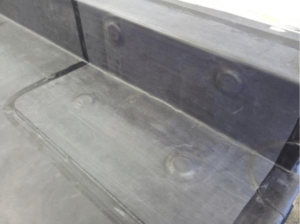
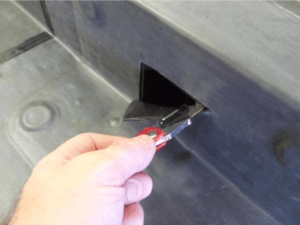
Remove the SA flashing that covers the outlet hole with careful use of a sharp knife. Take care not to cut into the drain outlet itself.
Step Nine
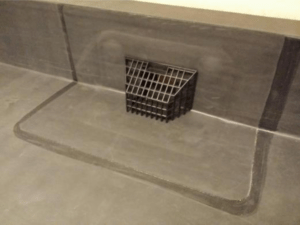
Attach the leaf guard.
Document Ref: Through-Wall-Outlet-Detail-il51_1