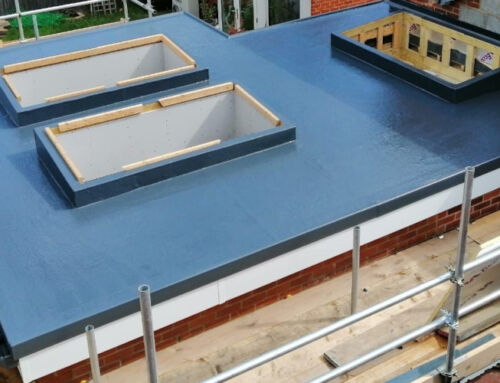
QuickSeam Repair Kit Installation Guide
Included within the kit will be:
- 1x QuickSeam Repair Flashing
- 1x 0.5L QuickPrime Plus Primer
- 1x silicon roller
- 1x QuickScrubber handle with pad
Other useful tools not included:
- Scissors, tape measure and crayon

Step 1:
Locate the damage to the EPDM and clean the surface to remove any loose debris.
Step 2:
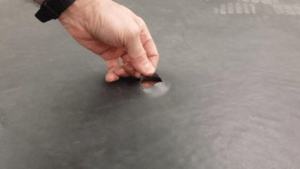
Place the QuickSeam Repair Flashing onto the centre of the damage and mark a circle around the patch allowing for an extra 25mm all the way around it.

Step 3:
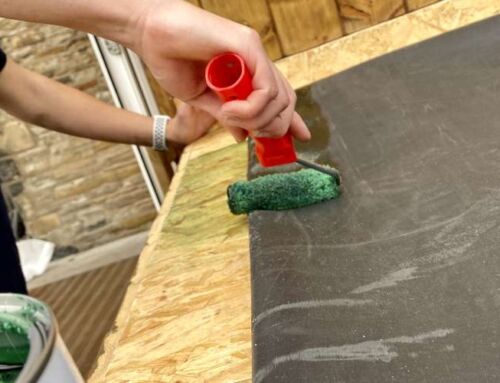
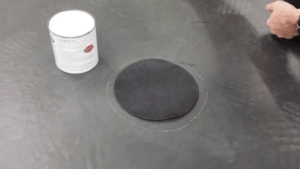
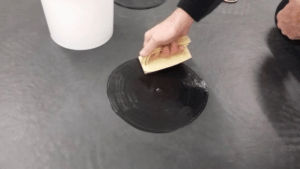
Stir the QuickPrime Plus Primer thoroughly with a mixer to prepare it for application, and apply it with the Quickscubber pad within the marked area on your EPDM.
Step 4:
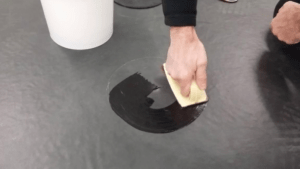
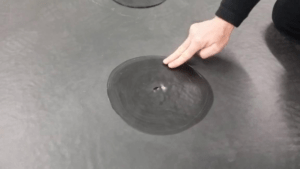
Wait a few minutes for the Primer to flash off, then carry out a touch test to see whether it is ready for the Repair Flashing. If the Primer is stringy to the touch, then it is still too wet.
The Primer must be tacky before applying the patch, with no stringing.
Step 5:
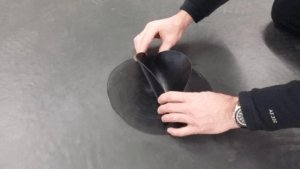
Peel off the backing paper from behind the QuickSeam Repair Flashing and pinch it with two hands so that you can easily apply it to the correct area ensuring that 25mm of Primer is visible all the way around.

Step 6:
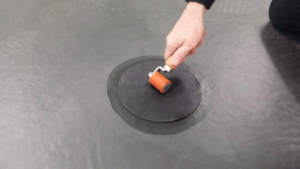
Apply pressure to the centre of the patch working outwards to remove air bubbles…

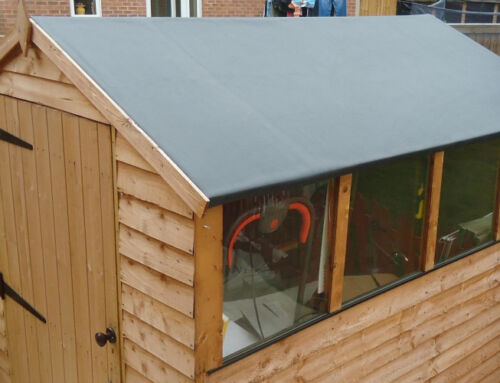
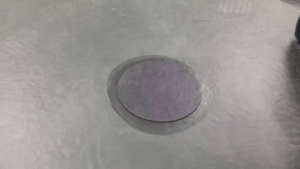
The finished detail
Document Ref: Quick-Seam-Repair-Kit_il40_1