Preparing a Flat Roof for EPDM Application
Preparing your flat roof before installing EPDM can be one of the most important steps of the entire process. Incorrectly preparing the roof can lead to failure – through poor adhesion.
In this guide, we will offer advice about the handling and storage of materials, the tools you need, product information and weather and substrate considerations.
If you need any further assistance, call the expert teams and we’ll support you every step of the way.
Material storage and handling
It is essential the roofing contractor is aware of proper storage of roofing materials. The following are some storage recommendations for handling these products.
- Read labels on all adhesive, primer and sealant containers.
- Keep all adhesives, sealants and cleaning products away from ignition sources such as torches, naked flames, fire, sparks, etc and DO NOT SMOKE in the vicinity of these products.
- Do not breathe vapours and maintain proper ventilation in storage areas.
- Post “No Smoking” signs close to areas where these materials are stored.
- Keep the products cool and dry, and out of direct sunlight.
- Keep container lids closed when not in use, due to loss of solvent through flash-off. Open containers must not be placed near any intake ventilators.
- Stir adhesives and Quickprime plus before and during use. If exposed to temperatures less than 10ºC, restore the Quickprime plus, adhesives and sealants to room temperature prior to use.
- Extreme warm weather can dry out the solvents in adhesives and Quickprime plus quickly. Protect the pails by installing a piece of insulation board under the can on hot summer days and cover cans with a piece of membrane.
- Never use naked flames to speed up the drying process of adhesives or Quickprime plus. Allow to air dry only. Heat guns may be used to mould Quickseam Formflash. Take care not to overheat.
- Protect all rubber products from discharges such as petroleum products, greases, oils (mineral and vegetable), organic based solvents, animal fats and fresh bitumen (less than 4 weeks old). Do not use materials that have been damaged to the point that they will not perform.
- Protect the EPDM system from direct contact with steam or heat sources when the in-services temperature is in excess of 82ºC.
Tools required
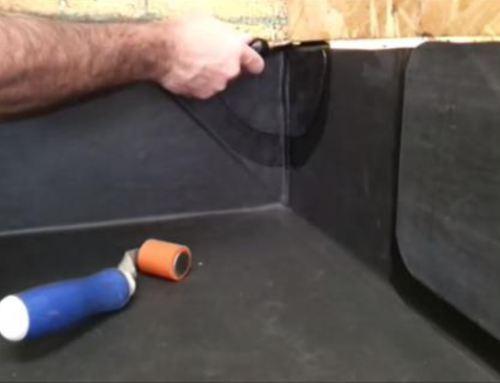
- 2-inch silicon hand roller
- Penny roller
- Stiff broom
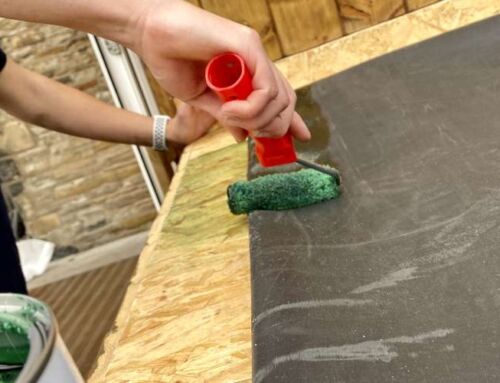
- 9-inch paint roller frame & medium nap, solvent compatible roller covers
- Safety glasses and eye cleaning solution
- Mastic gun
- Crayon
- Screw gun and hammer drill
- Solvent resistant rubber gloves
- Stir stick for adhesives
- Tin snips
- Scissors
- Measuring tape
- Hammer
- Duct tape
- Cotton rags
Product information
EPDM (Ethylene-Propylene-Diene-Terpolymer) was first introduced in 1962 and commercial production began in 1963. The first EPDM roofs were laid in the late sixties. It has a great track record of success in the flat roofing industry, due mainly to its virtually unlimited ozone and weather resistance and low temperature flexibility.
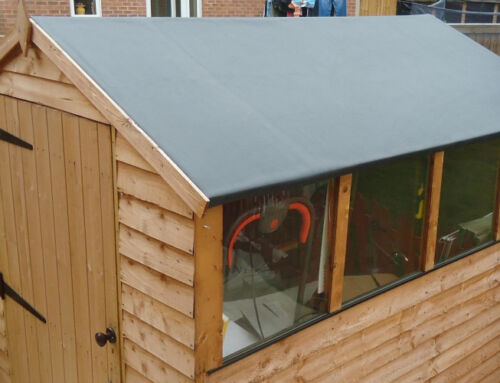
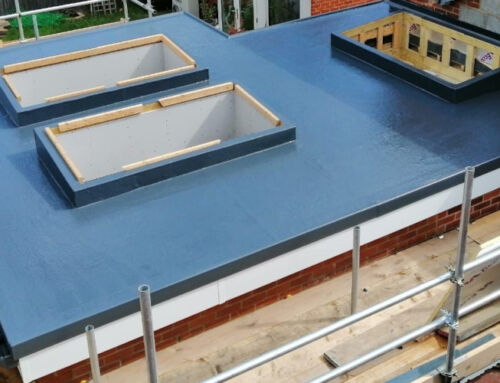
Today, over a billion square metres of EPDM roofing membranes have been installed worldwide from the frozen weather conditions of Alaska to the scorching desert climate of the Middle East. This track record demonstrates this material’s capabilities and its rightful place as a successful solution within the roofing industry. Rubbercover EPDM is a synthetic rubber roofing membrane used for flat and low- sloped roofs. It is available in a variety of sizes from 3m x 7.62m up to 9.15m x 30m with many size options in between.
Weather conditions
There are a few points to consider in order to achieve a quality installation when weather conditions are inclement.
Care should be taken when using adhesives, sealants or Quickprime plus in cold weather conditions (below 10ºC). It is necessary to store these products at room temperatures prior to use. Do not allow water-based bonding adhesive to freeze.
If temperatures are likely to fall below freezing in the first 48 hours after application, do not use water-based bonding adhesive to adhere the membrane. In this case, solvent-based bonding adhesive should be used instead. Certain combinations of temperature and humidity may cause condensation to form on the surface of the membrane. If this occurs, stop the operation and wait for better ambient conditions.
The installation and positioning of large EPDM membranes may be difficult in windy conditions. Prevent any wind getting under the sheet during installation. If necessary, use a temporary ballast to keep the membrane in place until it can be fully secured to the substrate.
Substrate considerations
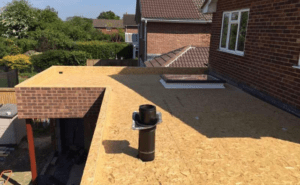
The underlying substrate of the roof should be in good condition, with no rotten timbers. All decayed and wet timbers must be replaced. Standard 18mm OSB3 sterling board or plywood is laid at right angles to joists.
Self-drilling countersunk screws shall be used. Under no circumstances should nails or staples be used for fixing of a timber substrate. These fastenings are inclined to work loose and risk damaging the membrane.
The substrate finish should be smooth, and free of sharp edges, wood splinters, etc. All rough surfaces that could damage the membrane should be isolated or removed. The roof surface must also be dry, as moisture will cause poor membrane adhesion and blistering.
All surfaces areas should be swept to remove debris, dust and other loose particles. Once the roof has been prepared properly and has a clean and dry substrate, the EPDM membrane can be laid in-situ ready for attachment.
There should be a minimum finished fall of at least 1:80 to provide positive drainage.
Document Ref: Roof-Preparation_il48_1