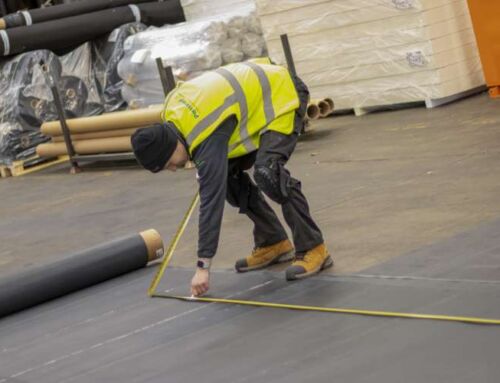
Installing EPDM on Perimeter Walls and Internal Corners
Once the main field sheet is adhered, the perimeter walls can be dealt with. In this step-by-step guide, we will demonstrate how to install EPDM membrane to the perimeter walls and internal corners of your flat roof project.
These are potentially vulnerable areas of the roofing and are where water is most likely to cause damage if the installation is not fully watertight. Creating a perfect seal will give you the best chance of successfully realising the full potential and longevity of EPDM roofing.
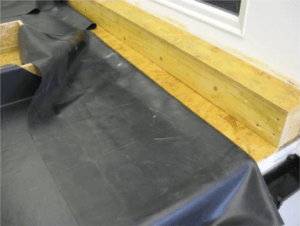
With the membrane 150mm away from the perimeter wall, apply the bonding adhesive to both the back of the membrane and to the area it is to be mated to.
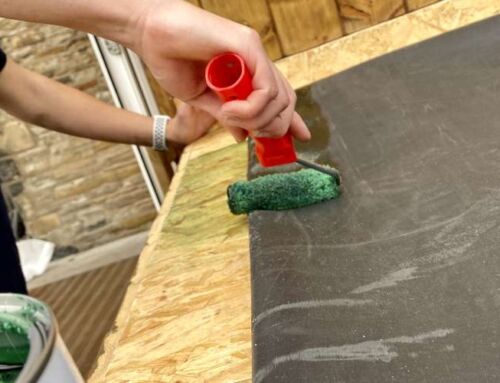
When applying the bonding adhesive, all areas must be clean, dry and free from dust. The adhesive should be applied with a 4” roller. Suitable rollers are available in the Permaroof store.
Note: Care needs to be taken when using bonding adhesive. Spillages can swell the membrane, so it is worth keeping the adhesive and rollers away from the EPDM membrane. Use an offcut of the membrane as a base for the adhesive container.
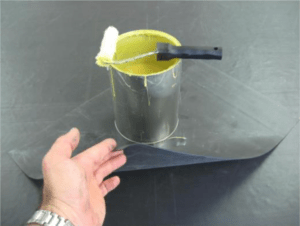
(The Bonding Adhesive is now dark green in colour)
Apply an even coat of adhesive to all surfaces to be mated.
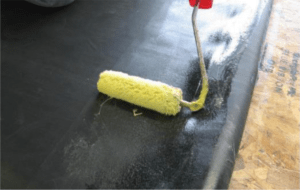
Once the adhesive is tacky, offer up the membrane by rolling it into the angle change and then up the upstand wall. This method prevents any tenting of the membrane at the angle change.
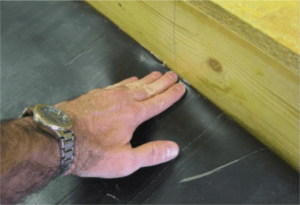
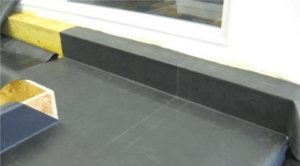
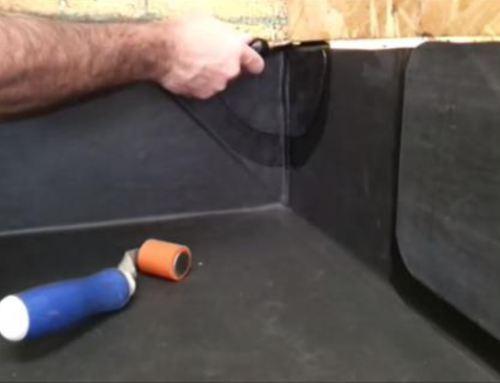
When one wall is completed, repeat the procedure on the adjoining wall. An excess of material will collect in the corner, which needs to be tidied up and secured. This excess is commonly known as the ‘pig’s ear’.
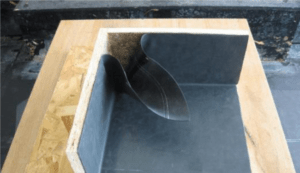
The pig’s ear can be attached to either wall, whichever is convenient. It is necessary to fold the pig’s ear out of the way, as shown above.
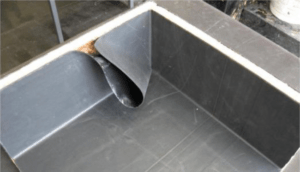
Apply contact adhesive inside the flap, wait until tacky and then mate it together.
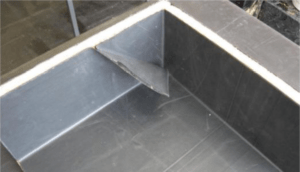
Apply QuickPrime Plus primer to the back of the flap as shown below.
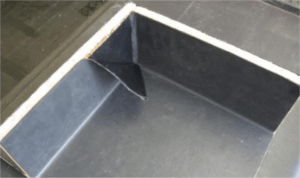
The flap can then adhere to the upstand.
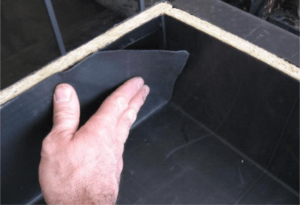
The finished detail.
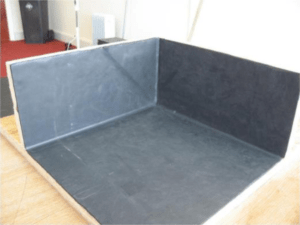
Forming an Internal Corner
Now, we will demonstrate the procedure for forming the internal corner on top of a parapet wall.
When one wall is successfully adhered, the adjoining wall can be dealt with. Mark a crayon line at the top of the wall and cut the membrane to the corner.
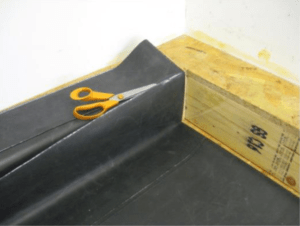
Now form the pig’s ear and remove excess membrane.
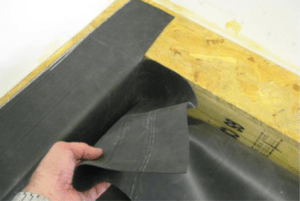
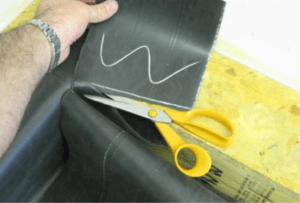
Securely adhere the membrane.
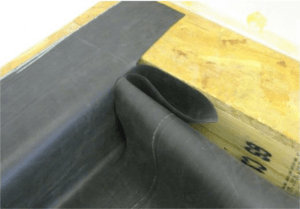
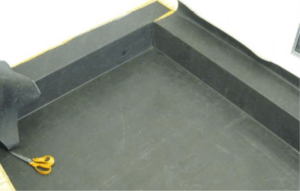
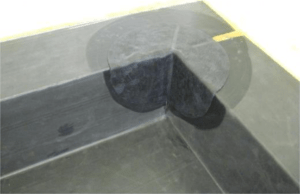
A Quickseam Corner Flashing patch is the finishing detail for this corner. This is applied with QuickPrime Plus.
When flashing up a wall, there are various options available for termination. Lead flashing is a common finish.
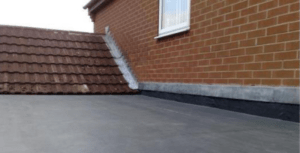
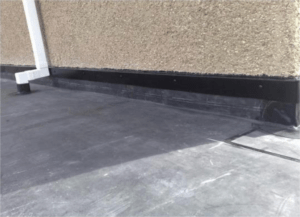
Metal wall trim is also a common choice for EPDM roofing systems. If attaching metal wall trim into a wall chase, use Permaroof Bond and Seal to waterproof the top edge of this trim. Mechanically fix the trim to the perimeter walls with tech fixings.
Document ref: Perimeter-Walls-Internal-Corners_il42_1.pdf