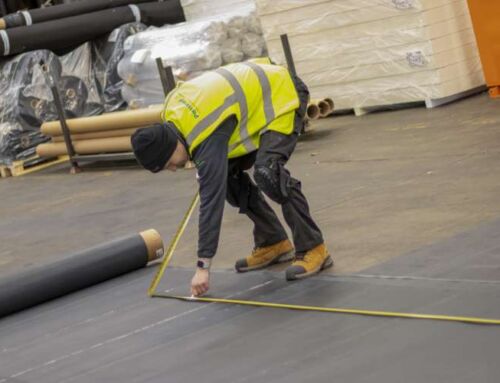
Fit an External Corner Using Quickseam Formflash
In this installation guide, we will demonstrate how to handle an EPDM external corner detail using Quickseam Formflash.
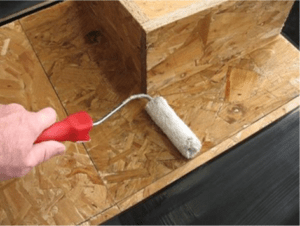
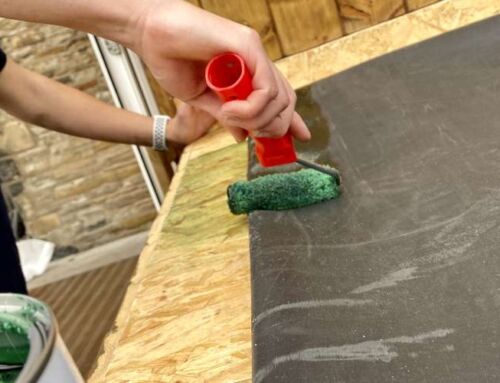
Step 1: Offer the membrane up to the base of the upstand and fold back enough material to get the 4” roller in and apply the contact adhesive onto the deck, the upstand, and also on the back of the membrane. Note: Bonding Adhesive (contact adhesive) is now dark green in colour.
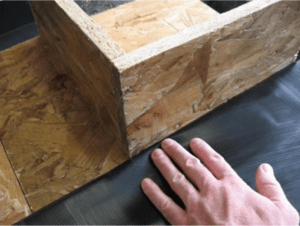
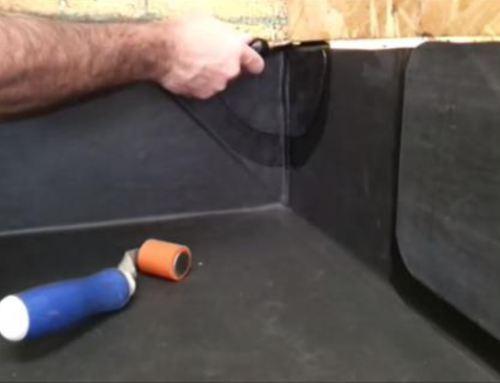
Step 2: Once the contact adhesive becomes tacky, roll the membrane towards the base of the upstand, pushing right into the angle change to eliminate any tenting.
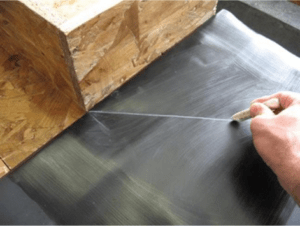
Step 3: Mark a line with the crayon, at 45º from the corner. This will create the resulting “V- shape” on the upstand.
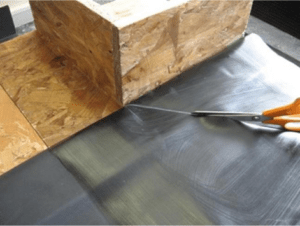
Step 4: Cut down the marked line until you reach the upstand corner. Also cut away any excess membrane, to make handling the material easier.
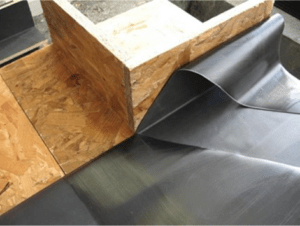
Step 5: Offer the membrane to the upstand…
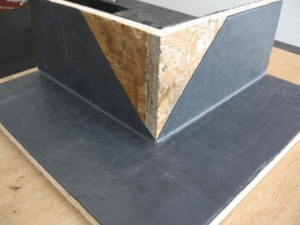
Step 6: The rest of the membrane can now be applied onto the roof deck around the corner, and then adhered to the upstand using the same procedure. The corner is to be waterproofed with 2 pieces of Quickseam Formflash, each with a minimum 75mm onto the deck.
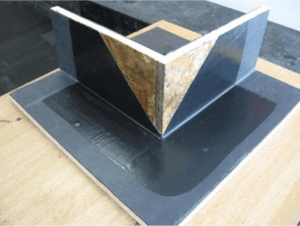
Step 7: As with any of the Quickseam tapes, Quickprime Plus needs to be applied to the area the tape is to be mated with. Also ensure the area is clean and dry without any dust or debris.
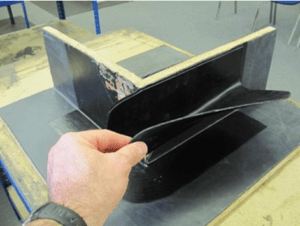
Step 8: Once the Quickprime Plus is tacky, apply the Quickseam Formflash starting from the top of the upstand working it down towards the base taking care not to let it touch the base just yet.
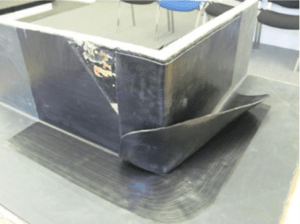
Step 9: Apply the Quickseam Formflash around the corner by 75mm and attach.
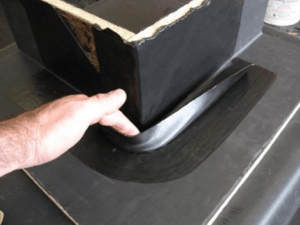
Step 10: The Quickseam Formflash can now be mated to the deck area.
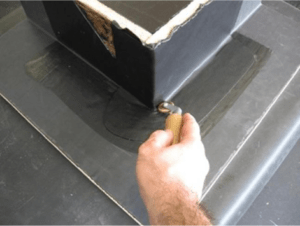
Step 11: Using the penny roller, work the Quickseam Formflash right into the angle change, starting from the corner itself. This method will help prevent any unsightly air bubbles from becoming trapped.
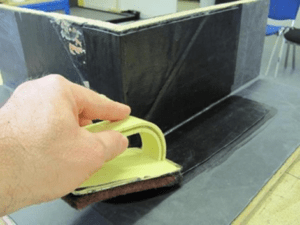
Step 12: Repeat the procedure with the 2nd piece of Quickseam Formflash to complete the corner, but remember to apply Quickprime Plus to where the 2nd piece is to be applied.
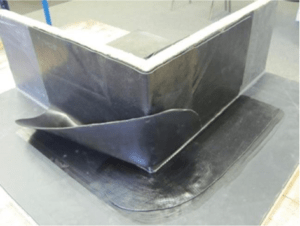
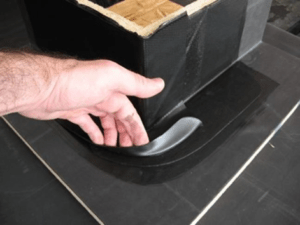
Step 13: Repeat the procedure to complete the seal using the penny roller, paying attention to the edges and pressing down firmly with even pressure.
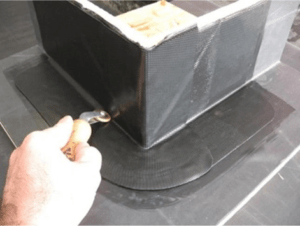
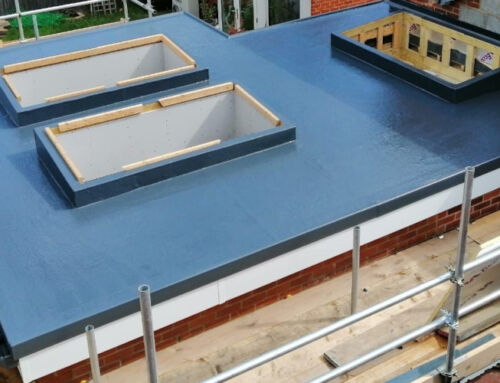
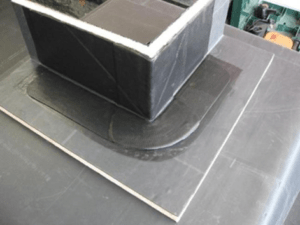
The finished detail.
Document Ref: Installation-external-corner-9-formflash_il31_1