EPDM Shed Roof Kit Installation Guide
How to Fit an EPDM Shed Roof Kit
In this guide, we will demonstrate the application process for fitting your PermaRoof EPDM shed roof kit. Our shed roof kits include everything you need to replace the covering on timber shed roofing. Fast and easy to apply, ideal for DIY.
Your EPDM kit should be applied to a clean, dry and dust-free surface for the best results. Carefully prepare your shed roof by fully removing the old covering and any oil or grease spots.
NB Timber shed battens are not included as a part of the EPDM roofing kit. You may choose to purchase new battens or conserve the old ones (if they are in good condition) when removing the old roof covering.
EPDM Shed Roof Kit Fitting Instructions
Step 1: Open the box to check the contents and familiarise yourself with the components.

Included in your kit (note quantities will vary according to the size of the project):
- Membrane
- Adhesive (aerosol spray 750ml)
- Sealant
- Polypins
Step 2: Lay the membrane over the shed roof, ensuring you have full coverage. Allow to relax for 1-2 hours.
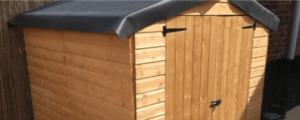
Step 3: Fold half the membrane back on itself and expose the first half of the shed roof working area.
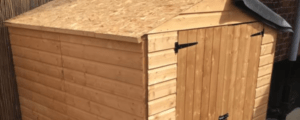
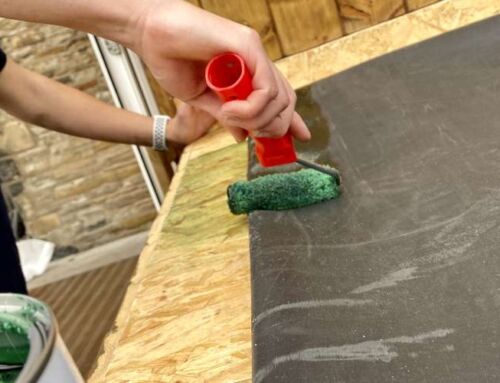
Step 4: Spray the adhesive evenly across the exposed working area, keeping the tin at an angle (as shown). Allow to dry.
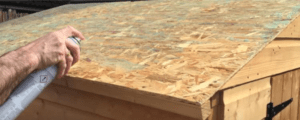
Step 5: Next apply an even coat of spray adhesive to the back of the membrane you folded back earlier.
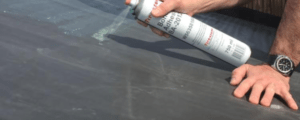
Allow to dry. Use your finger to do a touch test before moving onto the next step.
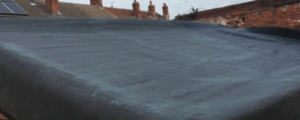
Step 6: Roll the membrane slowly and evenly back over the adhesive-covered exposed half of the roof in stages. Try to minimise air pockets and creasing as you go.
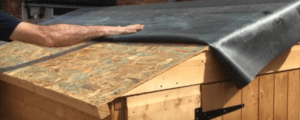
Step 7: Use a soft broom over surface of membrane to ensure full adhesion and to ease out any creases or bubbles.
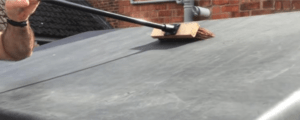
Repeat steps 4-7: Fold the other half of the membrane back over the newly-adhered side and repeat steps 4-7.
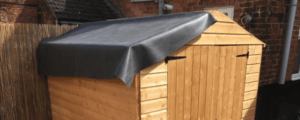
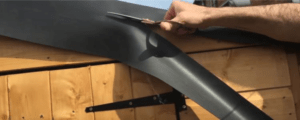
Step 8: Trim off any excess rubber sheet around the edges, leaving a minimum of 50mm overhang.
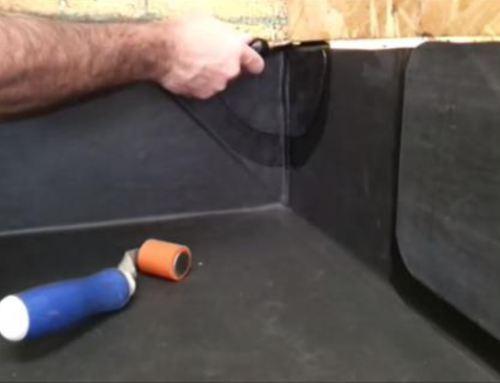
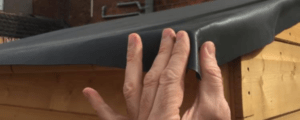
Step 9: At the front of the shed, pinch the corner of the EPDM and fold inwards to form a triangle. Secure with a timber batten strip (not included).
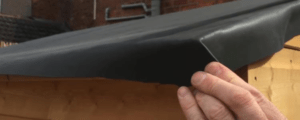
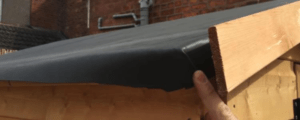
Step 10: Apply the spray adhesive around the edges of the shed and the underside of the membrane. Leave to dry.
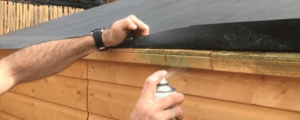
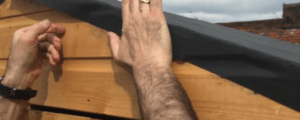
Step 11: Once dry, press the EPDM membrane down firmly by hand, folding the edges.
Step 12: Take your timber battens (not included) and run a bead of sealant (included) along the full length of the underside.
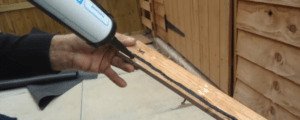
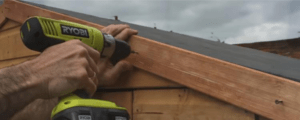
Step 13: Sandwich the membrane overhang between the shed and batten. Fix through the membrane into the shed. Ensure the fixing is below the sealant bead for a watertight seal.
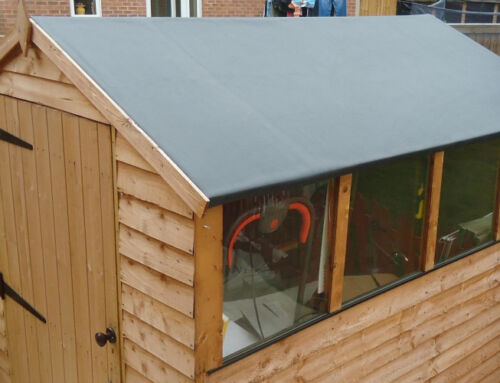
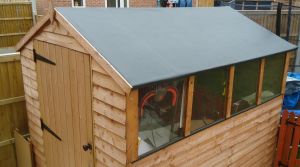
Step 14: Stand back and admire your handiwork. You have now successfully waterproofed your shed for the last time with your EPDM shed roof kit.
*
Find out more about all our flat roof kits here.
Read more about shed roofing here.
Document Ref: EPDM-Shed-Roof-Kit-Installation-Guide-2022