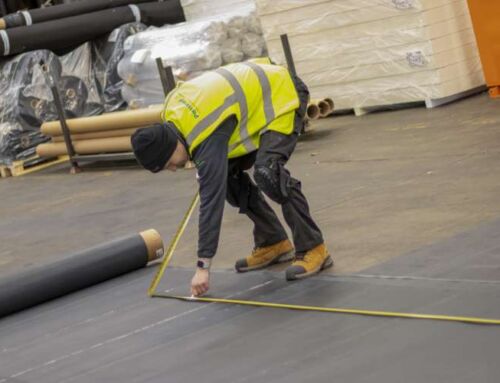
Installing EPDM Trim Detail
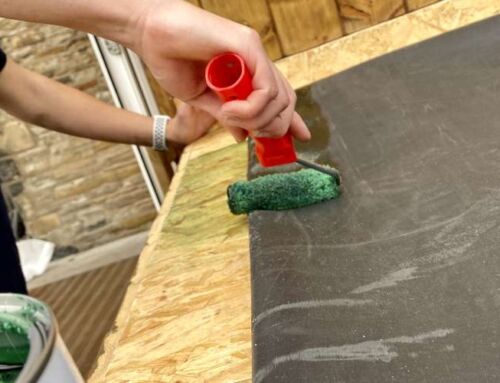
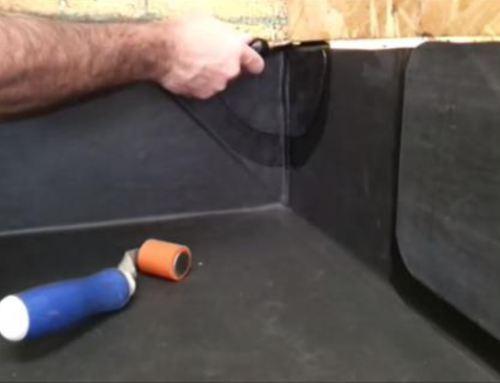
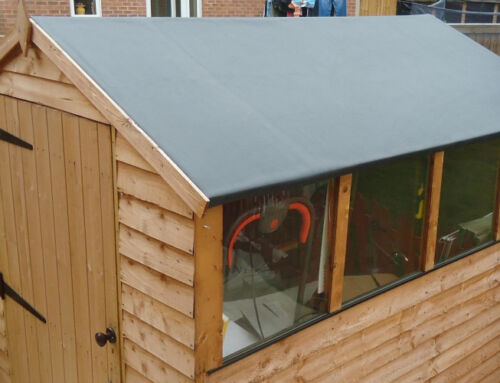
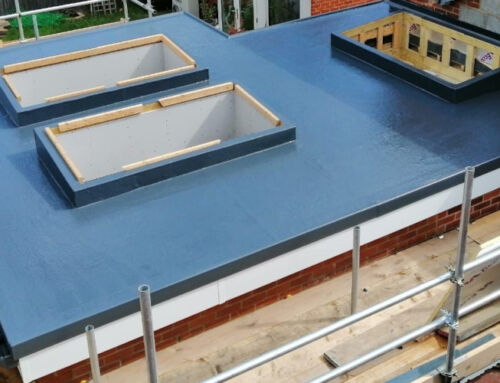
In this installation guide, we will demonstrate how to install the Permaroof EPDM trim detail to complete and seal your flat roofing project.
Once your EPDM roofing membrane has been installed, a good quality flat roof trim can perfectly seal the installation. This ensures the best chance of success over the expected exceptional lifespan of EPDM roofing systems of more than 50 years.
Qualified and experienced trainers will show you how to tackle gutter edges and install back plates, how to deal with kerb edges and create a watertight seal across the entire installation.
Note that it is preferable to install part of the trim system before the membrane is laid. See below.
Gutter edges
When fitting EPDM trim, it is preferable to install the EPDM trim gutter edge backplate before the membrane is adhered to the deck, as shown below.
Please note that a lath should be fitted prior to this backplate to ensure proper drainage. 40mm self-tapping fixings are used to attach the backplate and set out at 500mm intervals but do NOT install these fixings into the pre-drilled holes of the trim.
Start the fixings whilst the trim is on the roof deck, as this will make attachment easier.
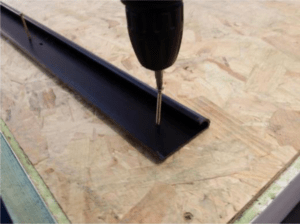
Make sure that the top of the backplate is flush with the surface of the roof deck, and then secure with the fixings.
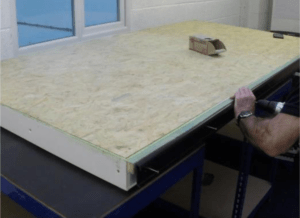
Once the membrane is applied to the roof deck (as described elsewhere in other installation guides), application of the EPDM trim system can be finished.
Trim the edge of the membrane making sure that 50mm of membrane overhangs the gutter edge of the roof.
The top edge of the drip plate is pushed under the top lip of the backplate, with the membrane “sandwiched” in between the two plates.
Note that the pre-drilled holes should be lined up on both pieces.
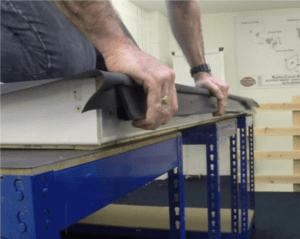
The drip plate can then be attached securely with polytop pins into the pre-drilled holes.
Take care not to strike the overhanging EPDM membrane.
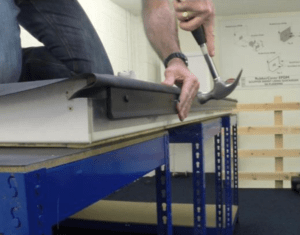
Kerb edges
For the kerb edges, the application is as follows:
Measure the appropriate length of kerb edge trim needed and cut to size if necessary.
Foam tape is already secured to the underside of the trim where it meets the roof deck. Under compression, this tape creates a watertight seal. Trim the membrane so that a maximum of 50mm overhangs the perimeter edges.
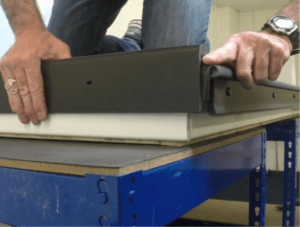
Starting at one corner, offer the trim into place with the trim end approximately 25mm back from the gutter edge and fix securely.
There are pre-drilled slots running down the length of the trim for easy fitting.
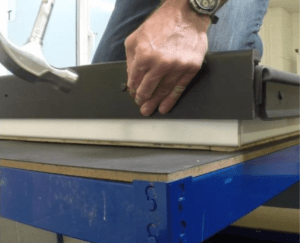
For corner pieces, apply a small amount of Permaroof Bond and Seal or superglue on the inside of the corner, and offer into place.
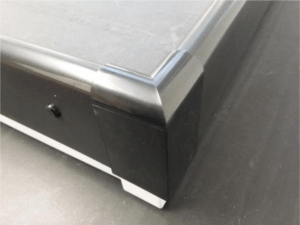
At corners where the kerb edge meets the gutter edge, finish off with the corner end caps. These are attached with a small dab of superglue and offered into place.
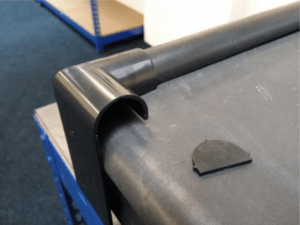
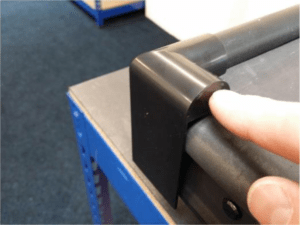
Notes: Take extra care when handling superglue and avoid contact with skin.
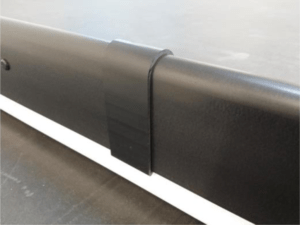
When joining lengths of EPDM kerb trim, end caps must be used, and a joint clip placed in position.
Document Ref: EPDM-Trim-Detail-il52_1