

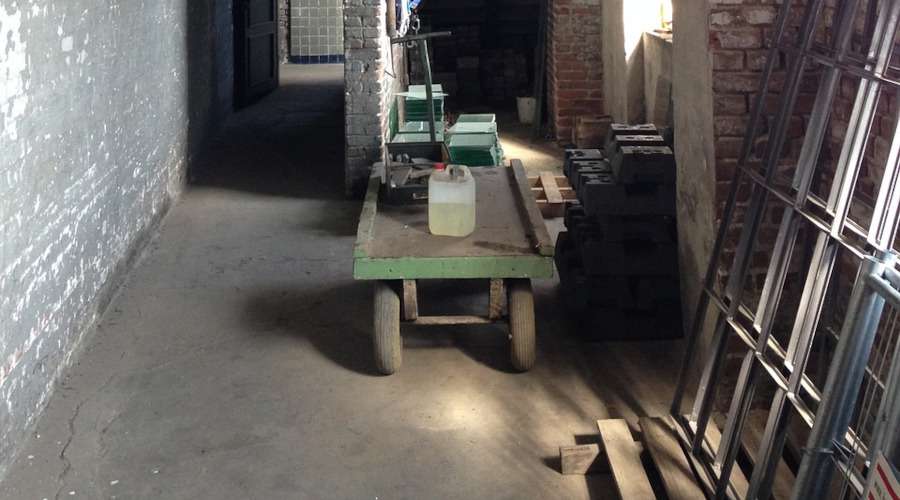
Installing EPDM for basement tanking (the process of waterproofing a structure below ground) is a critical step to prevent moisture and water ingress.
Here is a step-by-step guide on how to install EPDM for basement tanking or visit our damp proofing page to find out more:
1. Preparation
- Ensure the basement walls and floor are clean, smooth, and free from debris, dust, grease, or loose particles. Any sharp edges or protrusions should be removed or covered to avoid puncturing the membrane.
- Fill any cracks, holes, or gaps with a suitable filler or mortar to create a smooth, even surface. Uneven surfaces can compromise the installation.
- Ensure the surface is dry before proceeding. Moisture on the walls or floor can prevent proper adhesion of the EPDM membrane.
2. Primer Application (if required)
- Depending on the specific EPDM product, some manufacturers may recommend applying a primer to the surface for better adhesion. Follow the manufacturer’s guidelines regarding primer use and application.
- Apply the primer with a roller or brush, and let it dry completely before proceeding.
3. Cutting the EPDM Membrane
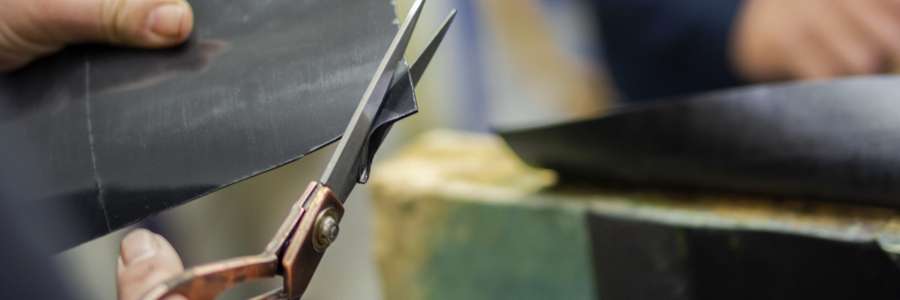
- Measure the areas where the EPDM membrane will be installed, including both the walls and the floor. Cut the EPDM membrane sheets to size, ensuring there is enough overlap between the sheets (typically 100–150 mm) to allow for proper sealing.
- Ensure that the membrane is large enough to extend slightly beyond the basement floor and walls to wrap around edges or terminate at a higher point for a proper seal.
4. Laying the EPDM Membrane on the Basement Floor
- Spread the adhesive on the floor, working in small sections. Use a suitable adhesive recommended by the EPDM manufacturer. Make sure the adhesive is applied evenly using a roller or brush.
- Gently roll the cut EPDM sheet onto the adhesive, starting from one end of the basement and working your way across. Smooth out any air bubbles as you go using a roller or a broom.
- Press the membrane firmly into the adhesive, ensuring full contact between the EPDM and the floor.
5. Installing the EPDM on the Basement Walls
- Apply the adhesive to the walls in vertical strips or areas that correspond to the size of your EPDM membrane sheet. Allow the adhesive to become tacky, as per the manufacturer’s guidelines.
- Start by attaching the EPDM membrane at the top of the wall and work your way down. Ensure that there is enough overlap between the wall and floor membranes for sealing.
- Use a roller or firm pressure to smooth the membrane onto the wall, ensuring it sticks without air pockets.
6. Sealing Overlaps
- Where EPDM sheets overlap (such as between floor and wall sections or between multiple sheets), ensure the overlap is clean and dry.
- For proper sealing, apply double-sided EPDM seam tape between the overlapping membranes. Press the membrane layers together firmly.
- Use a roller to press the seam, ensuring the seam tape bonds tightly to both layers of the membrane.
- Apply seam sealant or a suitable adhesive to the edges of the seams for extra protection against water ingress.
7. Detailing and Corners
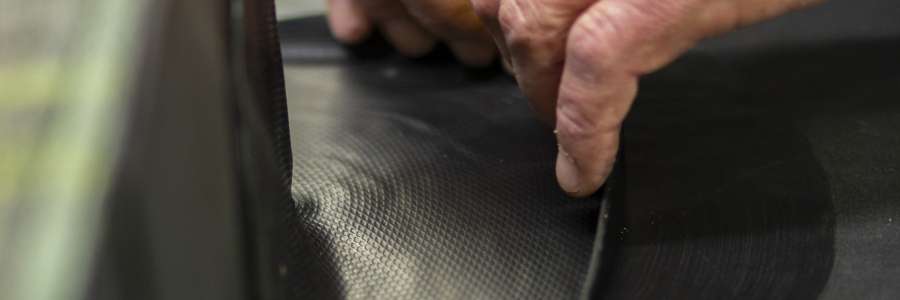
Use preformed corner pieces if available, or carefully cut and fold the EPDM membrane to form a watertight seal in the internal corners of the basement. Pay extra attention to these areas to prevent weak points.
For external corners, overlap the membrane carefully and use additional EPDM patches or sealing tape to reinforce the corners.
8. Waterproofing Penetrations
- Where pipes or other services pass through the basement wall or floor, use special EPDM pipe seals or collars. Ensure that these penetrations are properly sealed with adhesive and additional EPDM tape or sealant to prevent water ingress.
9. Final Inspection
- Ensure that there are no air bubbles or wrinkles in the membrane, as these can create weak spots. Smooth air pockets gently out with a soft broom or EPDM roller.
- Double-check all seams and overlaps to ensure that they are fully sealed.
10. Protect the Membrane
- Once the EPDM membrane is installed and inspected, protect it from damage during backfilling or further construction. Use protection boards or geotextile fabric as a barrier.
- In some cases, a drainage layer or drainage board is installed on the external side of the EPDM membrane to help divert water away from the structure.
11. Backfill Carefully
- Once the installation is complete, backfill around the basement walls carefully. Avoid sharp or heavy objects that could damage the membrane.
- Compact the soil in layers to prevent excessive settlement but avoid putting too much pressure directly on the EPDM membrane.
Useful Tips for Successful Basement Tanking with EPDM
Follow Manufacturer’s Guidelines: Always adhere to the manufacturer’s specific instructions regarding adhesives, seam tape, and other materials used in the EPDM system.
Work in Manageable Sections: To avoid premature drying of adhesives, work in small, manageable sections during installation.
Environmental Conditions: Install EPDM in dry weather to prevent moisture from interfering with adhesion. Avoid installing in very cold or very hot conditions unless advised otherwise.
By following these steps, you can ensure a robust and long-lasting EPDM basement tanking system that provides excellent protection against water and moisture. Contact the expert team at PermaRoof today if you need further advice about using EPDM for basement tanking.
Related News from the PermaRoof UK Blog
Liquid Rubber (Liquid PU) for Damp Proofing
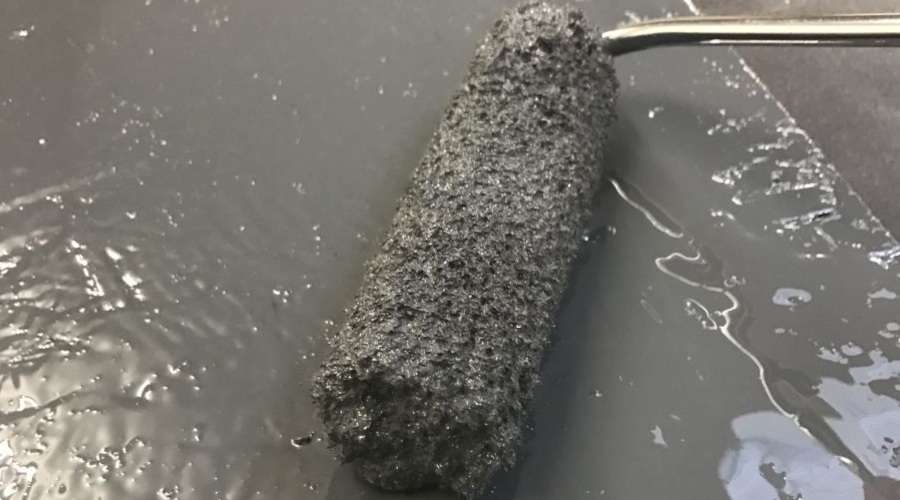
Liquid Rubber (Liquid Polyurethane or Liquid PU) is an effective and versatile solution for damp proofing, commonly used in construction to prevent water ingress and moisture-related issues in buildings. Liquid PU creates a seamless, flexible, and highly durable
Damp Proofing with EPDM
EPDM (Ethylene Propylene Diene Monomer) is a synthetic rubber material, highly durable, lightweight and flexible. A high-performance membrane, it is commonly used for roof waterproofing and now damp proofing with EPDM is growing increasingly popular. EPDM has a
How to Install EPDM for Basement Tanking
Installing EPDM for basement tanking (the process of waterproofing a structure below ground) is a critical step to prevent moisture and water ingress. Here is a step-by-step guide on how to install EPDM for basement tanking or visit
Get in Touch
Please leave your details and someone from the PermaRoof UK team will be touch shortly to help you with your enquiry.
Permaroof UK® Ltd
Unit 1
Westway
Cotes Park Industrial Estate
Alfreton
Derbyshire DE55 4QJ
Tel: 01773 608 839
Fax: 01773 608 408
Email: Click here
Registration No. 4109502
VAT No. 764 2785 00
Permaroof (UK) LTD
Opening Hours
Mon – Fri (8am / 5pm)
We are closed on bank holidays and we re-open the following working day at 8am. Feel free to send us your enquiry during these periods and we can get back to you.
CONTACT PERMAROOF UK
PermaRoof UK are on hand to answer any questions regarding our products, services or your order. We welcome enquiries from the trade, stockists and homeowners alike. Contact PermaRoof UK today using the below form and one of our experienced team members will be on hand to help you right away.
Permaroof UK® Ltd
Unit 1
Westway
Cotes Park Industrial Estate
Alfreton
Derbyshire DE55 4QJ
Tel: 01773 608 839
Fax: 01773 608 408
Email: Click here
Registration No. 4109502
VAT No. 764 2785 00
Permaroof (UK) LTD
PermaGroup Brands, Partners and Clients
PermaGroup has established links with some of the biggest names in our industry thanks to our reputation of excellence. Read more about becoming a supplier or stockist here.


