PERMAROOF IN A BOX® FITTING INSTRUCTIONS
STEP 1.
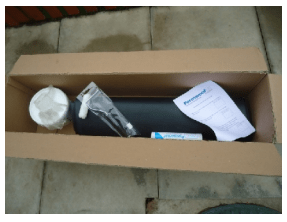
Open the box to check contents, and familiarise yourself with the components.
STEP 2.
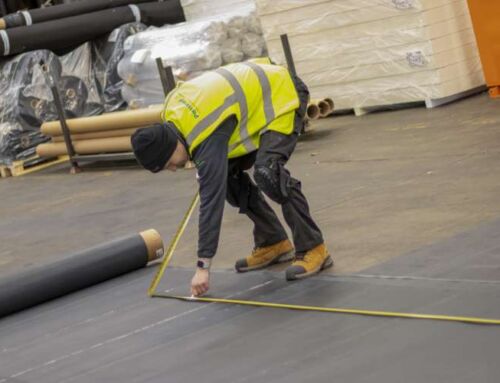
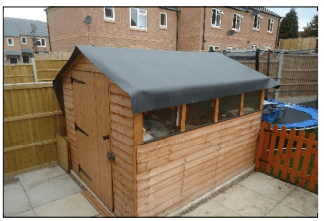
Place membrane over roof, ensuring you have full coverage.
Allow to relax for 30 minutes.
Step 3.
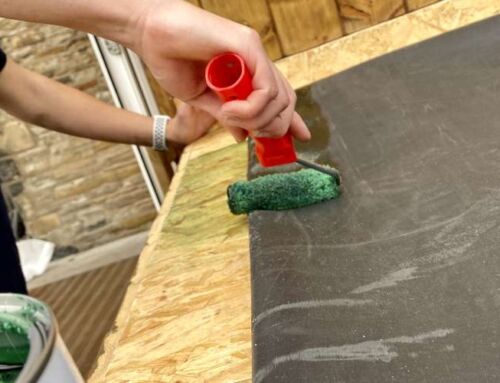
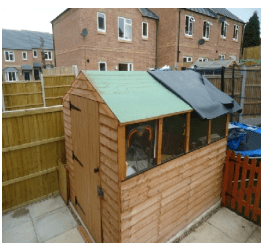
Fold half the membrane back on itself and apply water based adhesive to the roof deck using the mini roller enclosed. Repeat the process on the other half. A pair of protective latex gloves are enclosed for cleaner application. Broom over surface of membrane to ease out any creases or bubbles.
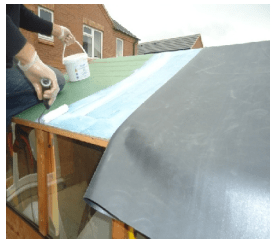
STEP 4.
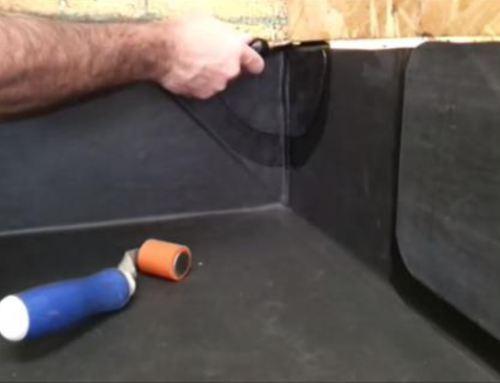
Trim off any excess rubber sheet around the edges, leaving approx. 50mm overhang
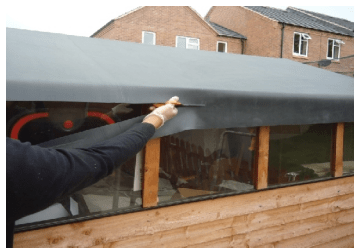
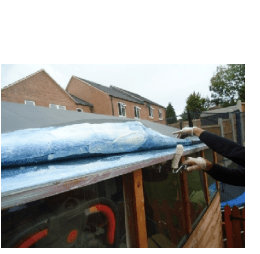
IMPORTANT. There are various shed designs along the water run off edge as shown above. We recommend that a thin layer of adhesive is applied to the back of the rubber membrane also, and allowed to go semi dry. (It will start to go clear looking). We also recommend a thin layer of adhesive to any part of the timber area that you would like the rubber membrane to adhere to. The adhesive when used in this way acts like an instant bonding adhesive, and will give the finished edge needed. Included in the kit is a box of pins that can be used to secure the membrane temporarily until the adhesive has dried fully. (Typically 48 hours)
STEP 5.
Run a bead of the Permaroof Bond & Seal Sealant along the length of your timber edge bead as supplied by shed manufacturer, and sandwich the 50mm overhang of membrane between side of shed and timber batten. Nail this through the membrane and into the shed timber, ensuring that the nail fixing is below the bead of sealant line to ensure a watertight seal.
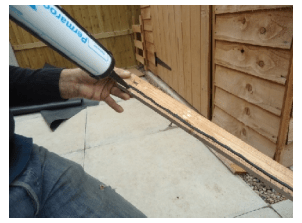
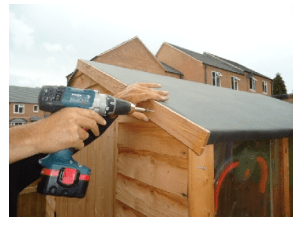
Step 6.
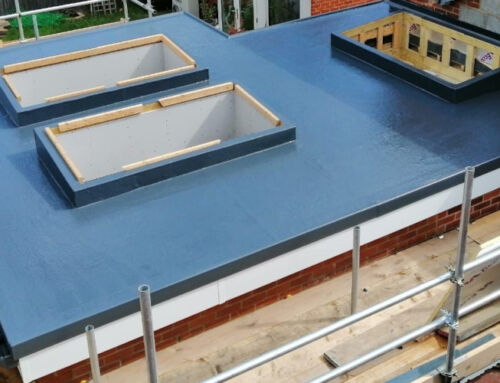
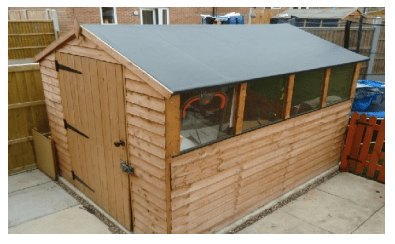
Stand back and admire! Your roof will not leak for at least 50 years!!
NB. If you require a flat roof kit, visit this page for further information.
More about shed roofing here.