Installing PermaRoof Wall Flashing
In this tutorial, we’re going to show you how to install the new PermaRoof wall flashing using Ultrabond in just six easy-to-follow steps.
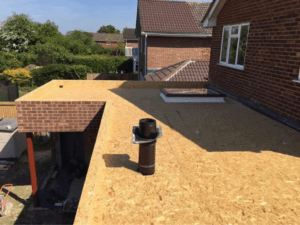
Wall flashing is an important part of the process of installing EPDM roofing systems where there is an upstanding wall, such as with a flat roof extension project.
Step One
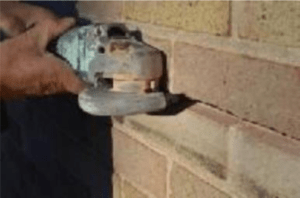
Grind out the chase using an 8mm thickness blade.
Step Two
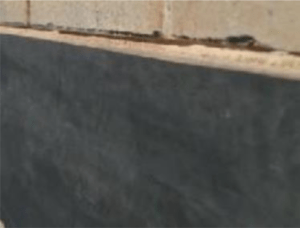
Bond the EPDM membrane up the wall, leaving it just short of the chase.
Step Three
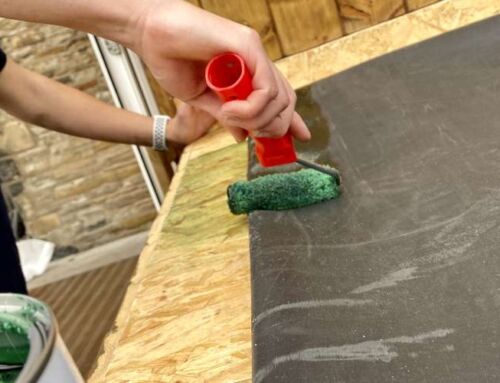
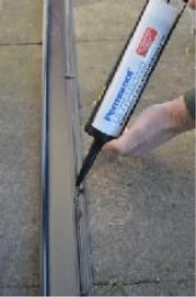
Apply Permaroof Ultrabond to the reverse of the Permaroof Wall Flashing, ensuring a continual 5mm bead.
For the best results, use the Ultrabond foil applicator and refill pack, as it offers high levels of control and consistency.
IMPORTANT:
To avoid any warping in hot weather, it is crucial you apply the Ultrabond adhesive to the reverse of the trim.
It is as strong as a mechanical fix, and the trim will warp if not used as advised.
Step Four
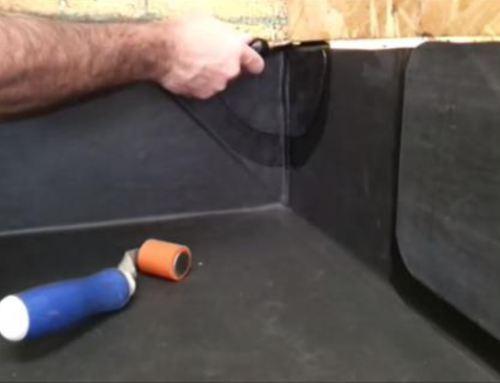
Insert the wall flashing into the chase, gently using your palm of your hand to push it into position.
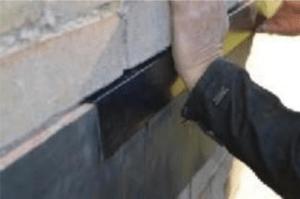
The Permaroof Ultrabond will sandwich between the flashing and the EPDM membrane, ensuring adhesion.
This also acts as a water block to stop any water ingress from the bottom of the trim.
Step Five
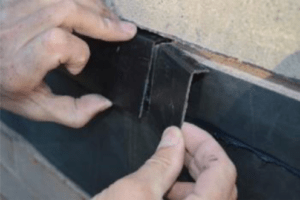
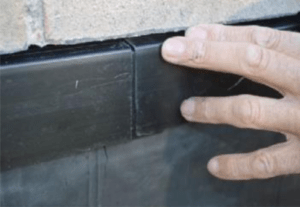
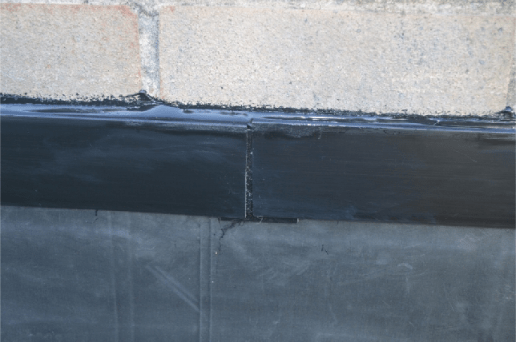
If you need to use more than one wall flashing, always allow a 3mm gap and make a joint clip out of a 50mm section of wall trim.
Cut off the ‘fir tree’ part and insert at the back of the wall flashing. Simply butt the next trim up but remember to leave a 3mm expansion space.
Step Six
Seal up the chase with the Permaroof Ultrabond.
This gives it the finishing touch and ensures a first-class seal.
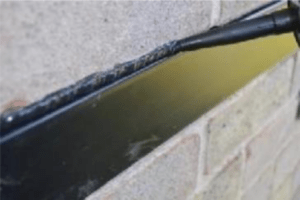
Fig 7: Sealing up the chase with Permaroof Ultrabond.
And you’re done.
Document Ref: Installing-Permaroof-Wall-Flashing-PR184025_il103_1