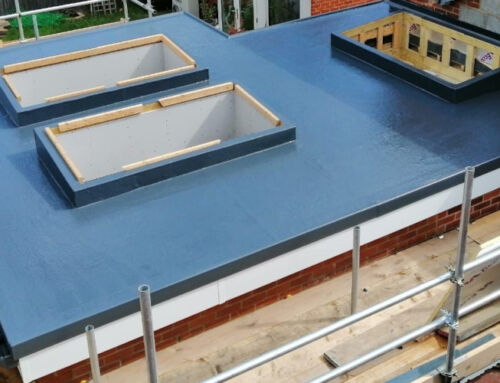
Permaroof100 Liquid EPDM: Detailed Application

What’s in this guide?
In this paper, we will introduce you to the Permaroof100 Liquid EPDM waterproofing system and cover the detailed application of Liquid EPDM.
This is the first part of the installation process, following the preparation and product mixing stages.
Before you begin, the entire surface area must be adequately and correctly prepared. Please see the full application guide for further details.
NOTE: Detailed application of the Permaroof100 Liquid EPDM System must be carried out before main surface application.
A comprehensive application guide is available to download on the resources page, in addition to individual tutorials to cover each stage of the application process.
Introducing Permaroof100 Liquid EPDM
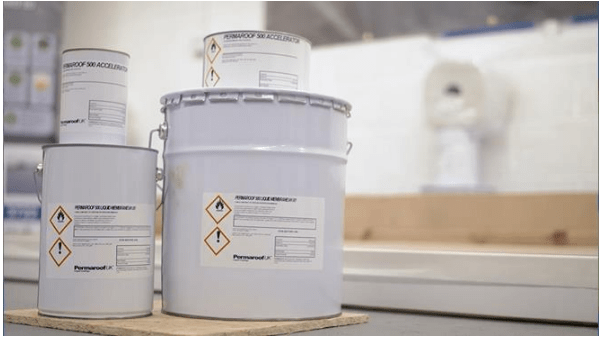
Permaroof100 Liquid EPDM Waterproofing system provides a cost-effective solution to completely transform your spaces either at home, or in a commercial or industrial environment.
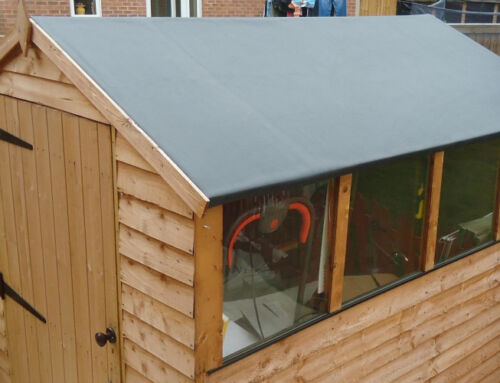
Our system is easy to apply and cures fast, leaving a smooth, professional finish and making it a great solution for balconies, external stairs, walkways, paths, patios, garden office roofing, car parks, flat roofs, green roofing and more.
Once completely dry and cured, the product can remain performing successfully with a 15 or 20-year warranty.
Permaroof100 Liquid EPDM is suitable for surfaces that come into contact with water, offering 100% waterproofing,protecting existing roof decks and in many cases, extending the lifespan of the roof itself.
Now let’s look at the detailed application process onto a prepared surface area with mixed Permaroof100 Liquid EPDM…
Detail Work Application
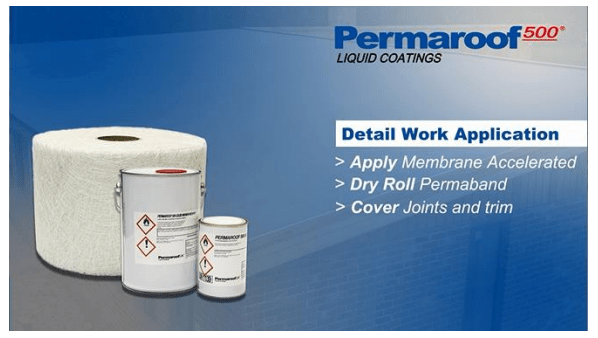
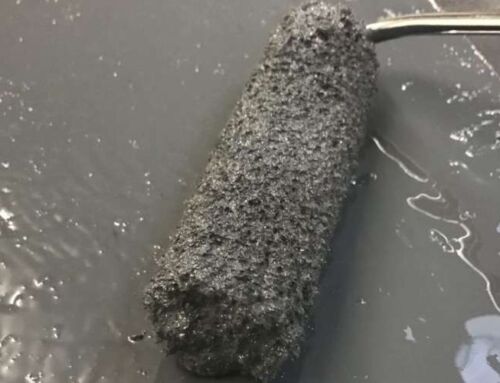
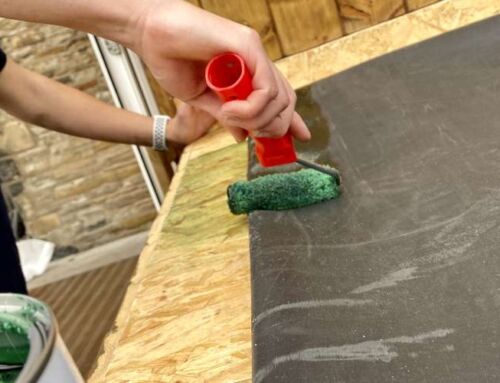
Step 1: Apply the mixed, accelerated Permaroof500 across the surface of your prepared detail work area and 50mm onto the roof deck using a small roller.
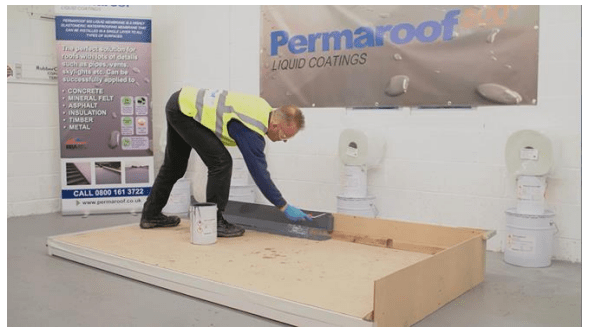
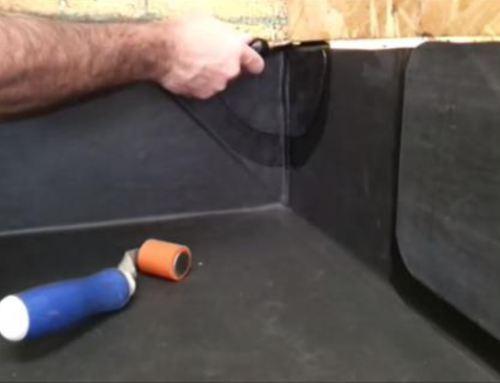
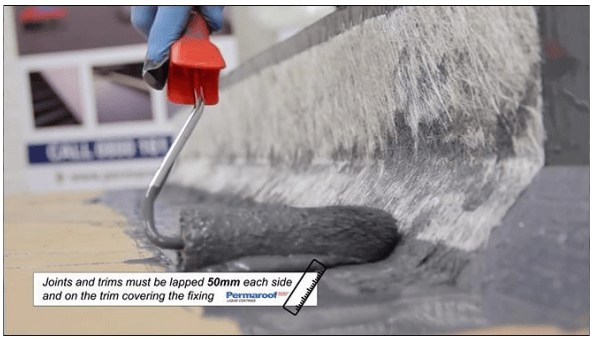
Step 2: Lay the Permaband onto the surface, overlapping joins by 50mm. Dry roll firmly into the liquid membrane until it is drawn through. Overlap joins by 50mm. Add another layer of the product.
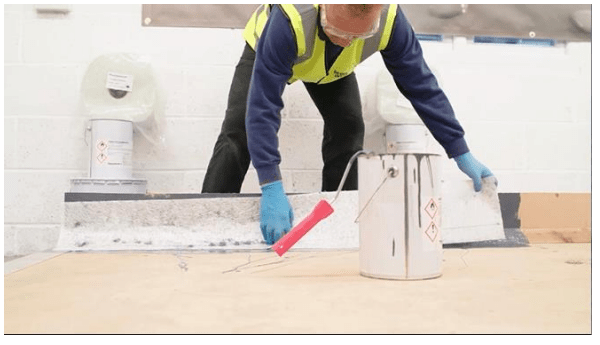
Step 3: Add another layer of the product.
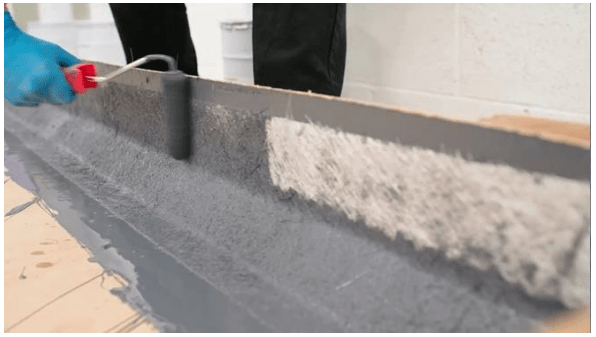
Note that after a couple of minutes, the matting softens considerably, and can then be rolled tight into any detail.
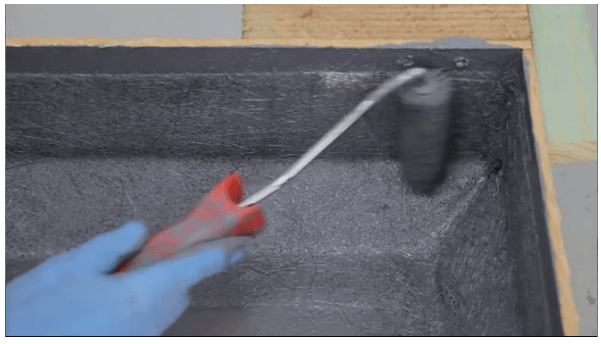
Repeat this process on all relevant areas, considering that joins must be lapped 50mm each side and on any change of material.
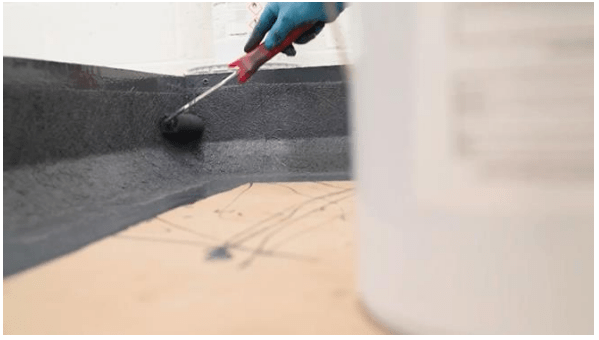
Joins in the Permaband, trims or fixings must be overlapping 50mm on each side and on the board.
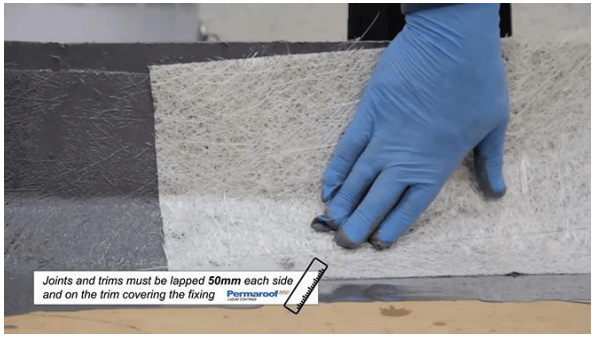
There should also be 50mm on the trim covering the fixing.
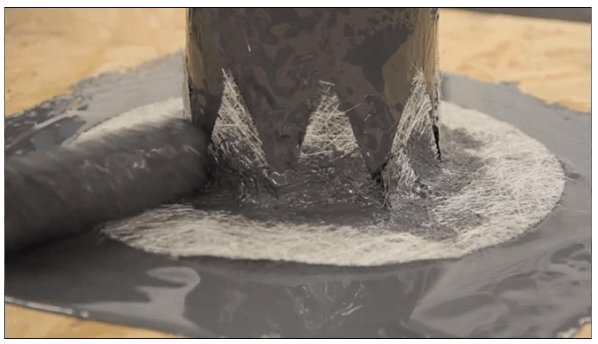
Dealing with Outlets and extrusions
Outlets must be treated in the same way, by using matting embedded in a thick coat of Permaroof100, as previous.
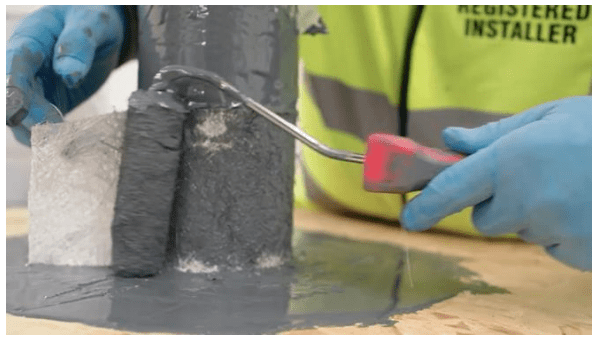
Allow all detail work, including joins, to dry and cure fully before applying the product to the main area.
You’re now done, and ready for main surface application!