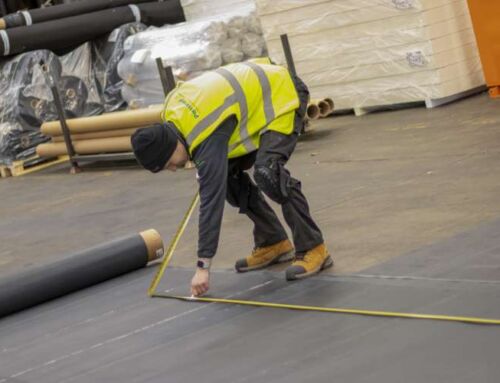
Forming an Internal Corner Detail
In this tutorial, we’re going to show you how to form an internal corner detail using EPDM, Quickprime Plus and the penny roller.
Step One
Prepare the Quickprime Plus by mixing it sufficiently, according to the instructions, and decanting it into a small container, as you only need to use a small amount at a time.
Put the lid firmly back on the tin afterwards.
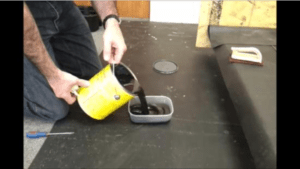
Fig 1: Decanting mixed Quickprime Plus into a small container.
Step two
Tie the little piece of EPDM onto the back wall. This keeps the sheet membrane out of the way while the bonding adhesive is applied.
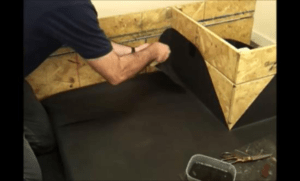
Fig 2: Tying the sheet membrane temporarily out of the way.
Step three
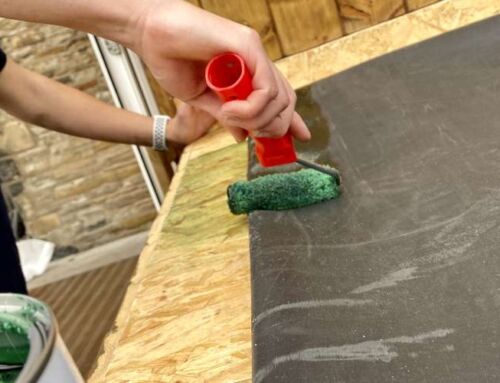
Apply the bonding adhesive using the roller as shown below. With this glue, we always put it onto the back wall and its mating surface, which is the underside of the sheet membrane.
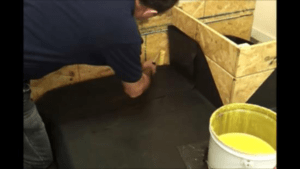
Fig 3: Applying the bonding adhesive to the back wall and the mating surface.
Step four
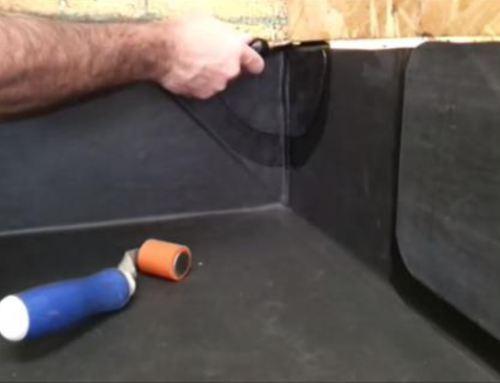
Once you have established that both surfaces are ready to be mated, you can offer the sheet into position, form it into the angle change, using the penny roller for assistance. This will make sure there is no tenting or bridging of the sheet membrane.
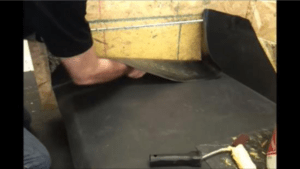
Fig 4: Using the penny roller along the bottom of the upstand wall.
Step five
Offer the sheet up onto the wall and begin to form the internal corner detail. Measure the drop from the edge of the membrane and from the internal corner. Bring the membrane over, after using the penny roller to form the corner drop.
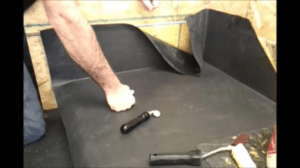
Fig 5: Offering the sheet up to the upstand wall.
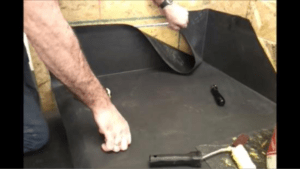
Fig 6: Bringing the membrane over to form the corner.
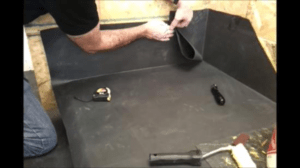
Fig 7: Bringing the two edges together to make the fold.
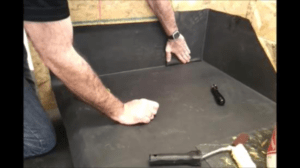
Fig 8: Ensuring the fold is made accurately.
Step six
Any of the excess membrane is removed, leaving the flap intact and secure to the back wall. Use the Quickprime Plus for that.
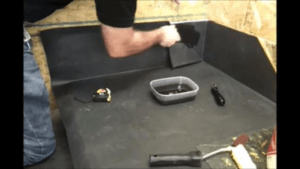
Fig 9: Securing the flap to the back wall with Quickprime Plus.
When it’s sufficiently tacked off, offer the sheet up to the back wall, and it should stay in position.
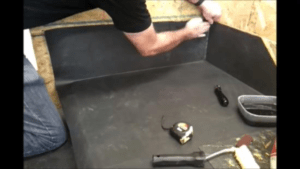
Fig 10: Offering the sheet up to the back wall to secure.
Step seven
Trim off the excess membrane as before.
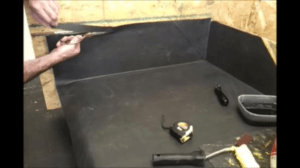
Fig 11: Trimming off the excess membrane.
And you’re done.
Document Ref: Forming-an-Internal-Corner-Detail_il98_1